
Appliance Hookup Help
HammerNest reviews connection-ready appliance setup requests around Freeport, IL for practical placement, leveling, supplied parts, clearances, and utility-readiness details.
Fast response. Quality work. Fair pricing.
Connection-ready appliance setup
Appliance hookup help for connection-ready homes in Freeport, IL
HammerNest reviews appliance setup requests in Freeport, IL for washers, dryers, refrigerators, dishwashers, and freestanding ranges when the required utility connections are already installed, accessible, and ready for review.
The appliance, opening, delivery path, existing utilities, manufacturer instructions, and included parts should be reviewed together. New wiring, plumbing, gas connections, concealed vent work, or utility modifications are separate scopes that may require the appropriate trade professional.
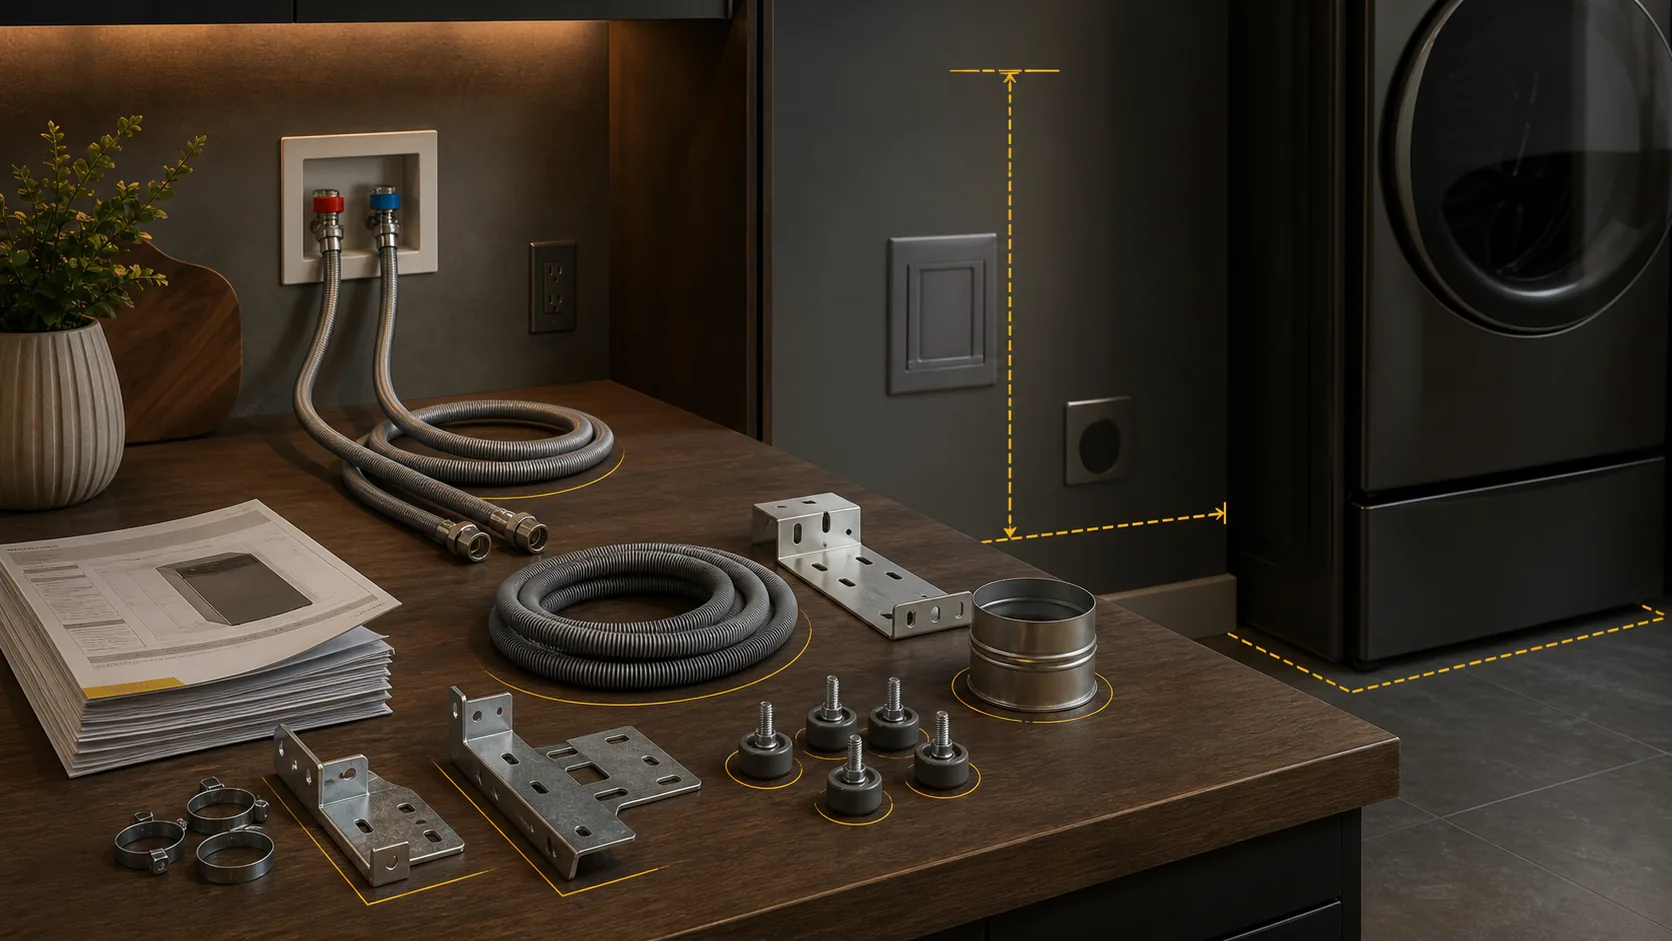
Washer and dryer setup
Placement, leveling, anti-vibration support, door clearance, and access to existing hoses, drains, outlets, and dryer vent openings can be reviewed as one laundry setup.
Refrigerator placement
Refrigerator requests can include cabinet fit, leveling, door and drawer clearance, flooring protection, and review of an existing accessible water-line connection.
Dishwasher positioning
A connection-ready dishwasher request may include cabinet fit, leveling, supplied mounting brackets, floor clearance, and access through the nearby sink cabinet.
Range and anti-tip hardware
Freestanding range placement and manufacturer-supplied anti-tip hardware can be reviewed when the appliance location, bracket, instructions, and existing utilities are prepared.
Parts and clearance review
Hoses, cords, clamps, brackets, vent components, adapters, and other supplied parts should be included with the request. Missing pieces or inaccessible connections can change the next step.
Send the complete appliance list at once, including model information, installation instructions, utility photos, opening measurements, and every supplied component.
Share the appliance models, room photos, opening and delivery measurements, existing utility locations, and included parts.
Project intake checklist
What to send with your appliance hookup request
Clear product details, utility photos, measurements, and supplied parts help show whether the appliance, opening, and existing connections appear ready for practical setup support.
Appliance model and instructions
Send the brand, model number, product link, delivery paperwork, and manufacturer installation instructions. Include photos of the model label when safely accessible.
Existing utility locations
Photograph the existing outlet, water valve, drain opening, dryer vent, or other connection point without disconnecting or opening anything.
Opening and access measurements
Provide the width, height, and depth of the appliance space, plus doorway, hallway, stair, and turning-clearance measurements along the delivery path.
Supplied parts and accessories
Photograph all hoses, cords, brackets, clamps, adapters, vent pieces, leveling feet, mounting hardware, and other included components.
Missing, damaged, or unclear items
Show damaged packaging, bent brackets, missing hardware, cracked hoses, incomplete instructions, or parts that do not appear to fit.
Phone photos and rough measurements are enough when they clearly show the appliance, opening, utility locations, delivery route, and all supplied parts. Do not disconnect utilities, remove electrical covers, or move a heavy appliance solely to take photos.
Share the model information, instructions, utility photos, access measurements, and included parts so HammerNest can review whether the request appears connection-ready.
How it works
How an appliance hookup request is reviewed.
A simple review flow from model details to connection-ready follow-up.
- Send repair detailsShare photos, location, urgency, and the best way to reach you.
- Upload photos if helpfulWide and close-up photos make the first review clearer.
- Choose call or text follow-upTell us how you prefer to handle the next step.
- Get the next stepIf the job fits, timing, materials, and the repair plan are confirmed.


Laundry setup check
Washer and dryer setup starts with placement, leveling, and access
A washer and dryer need enough room to sit level, open fully, and remain accessible without crushing cords, hoses, drain lines, or vent components behind them. The appliance dimensions, floor condition, utility locations, and surrounding cabinets or doors should be reviewed together.
Laundry closets, stacked units, pedestals, shallow alcoves, and basement utility rooms can create tight clearances that are not obvious from appliance measurements alone. HammerNest focuses on connection-ready placement and setup review.
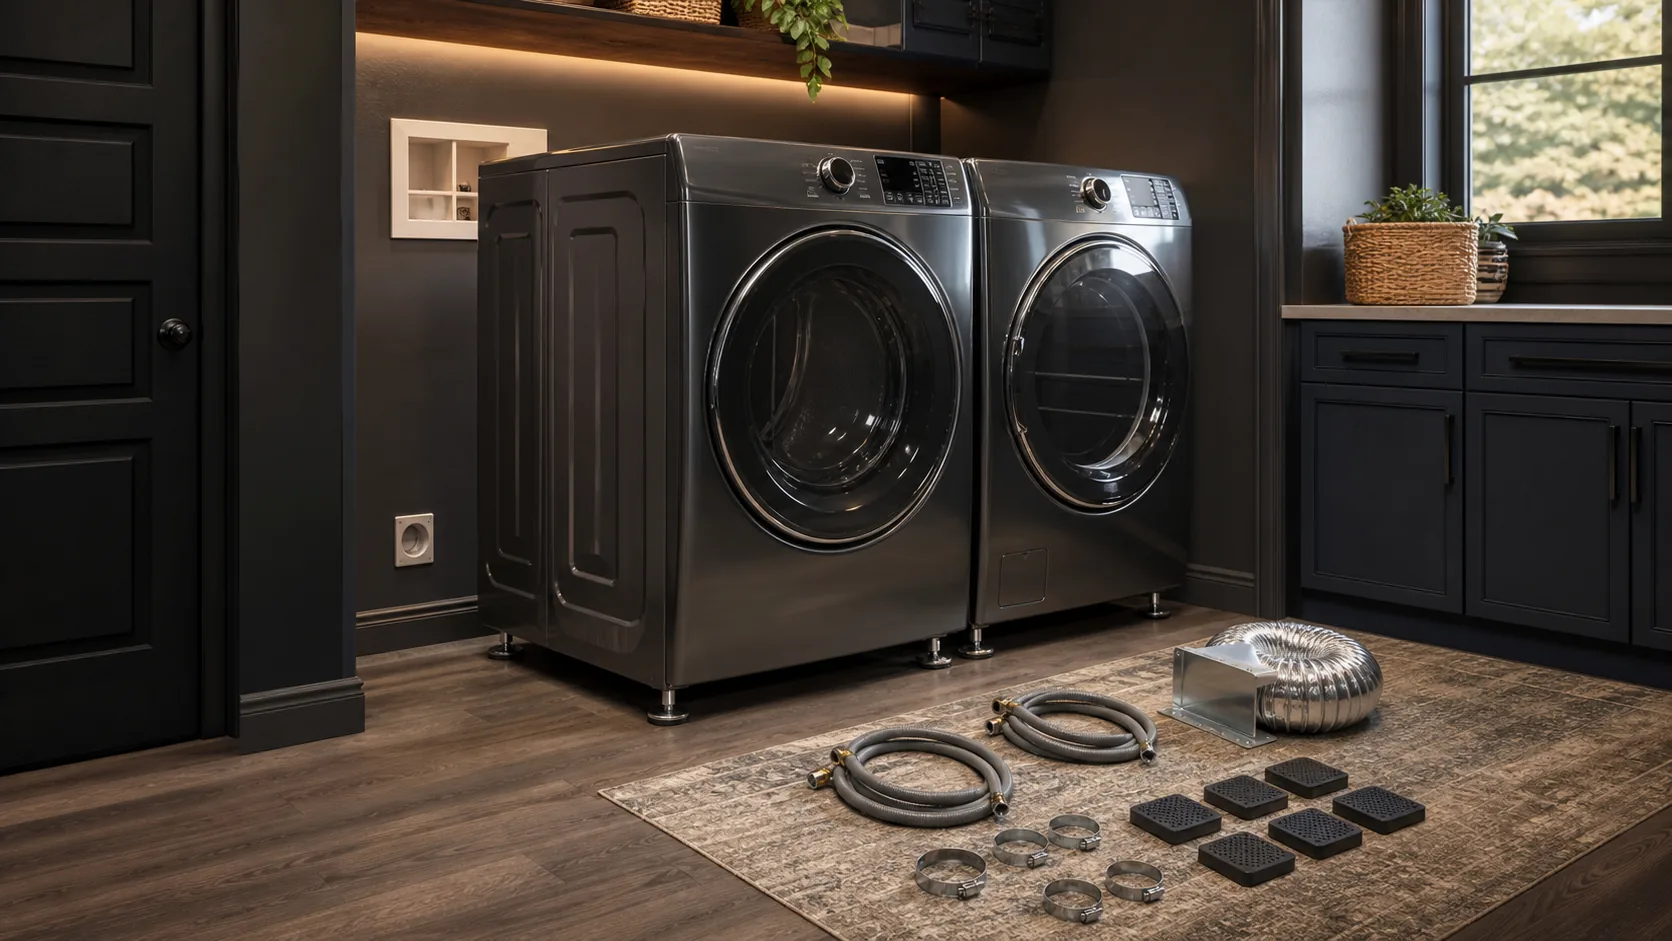
Appliance fit
Compare the washer and dryer dimensions with the full opening, including cabinet overhangs, trim, baseboards, pedestals, and door swings.
Leveling and floor condition
An uneven, damaged, or sloped floor can contribute to rocking, vibration, and poor alignment. Photograph the floor and note whether the current appliance shifts.
Rear clearance
Show the space behind the appliances and the location of existing hoses, drain access, cords, outlets, and the dryer vent opening.
Stacked or tight spaces
Stacking kits, closet doors, overhead shelving, side walls, and limited working room can affect placement. Include all supplied stacking hardware.
Supplied parts
Photograph hoses, drain components, cords, clamps, vent pieces, anti-vibration pads, brackets, and other included accessories.
Do not disconnect utilities or move heavy appliances solely to take photos. Gas dryers, damaged valves, outlet changes, new drain work, or concealed dryer-vent modifications require the appropriate trade professional.
Send the washer and dryer models, opening measurements, floor photos, utility locations, rear clearance, and supplied parts.
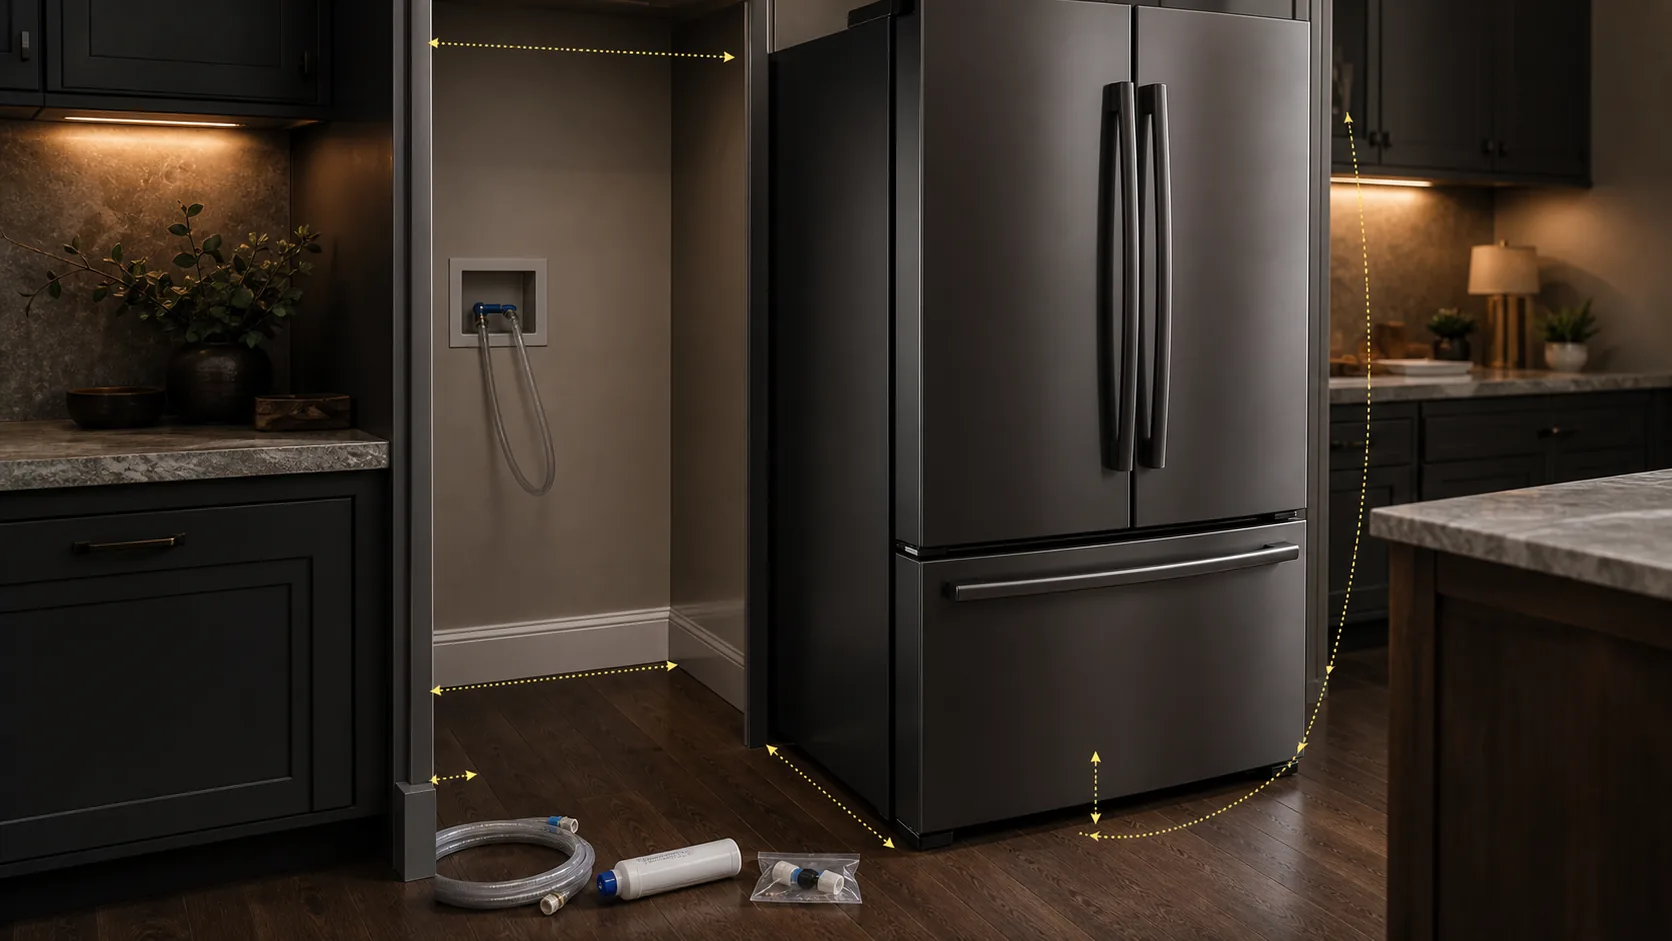
Refrigerator fit and clearance
Refrigerator setup should account for fit, doors, flooring, and the existing water connection
A refrigerator needs more than enough width to slide into the opening. Cabinet depth, height, rear clearance, flooring condition, handles, hinges, and nearby walls or counters all affect whether the appliance can sit level and open properly.
Models with ice makers or water dispensers should be reviewed with the existing accessible water connection already in place. HammerNest focuses on connection-ready placement and setup support.
Cabinet opening
Measure the full width, height, and depth of the refrigerator space, including trim, baseboards, cabinet overhangs, and anything projecting into the opening.
Door and drawer clearance
Show nearby walls, islands, counters, and doorways that may limit the refrigerator doors or freezer drawers.
Flooring and leveling
Uneven floors, raised transitions, soft material, or damaged edges can affect stability and alignment.
Rear and side clearance
Include photos of the space behind and beside the refrigerator, along with the outlet and ventilation area.
Existing water connection
Photograph the intact shutoff valve, accessible tubing, supplied refrigerator line, adapters, clips, and filter parts when present.
Corroded or leaking valves, damaged tubing, missing shutoffs, inaccessible connections, and new water-line work should be handled by an appropriate plumbing provider before refrigerator setup proceeds.
Send the refrigerator model, opening measurements, door-clearance photos, floor condition, rear space, and intact water-connection details.
Dishwasher fit and support check
Dishwasher setup depends on cabinet fit, support, and connection access
A dishwasher needs to fit the cabinet opening, sit level with the surrounding cabinets, and remain supported without interfering with the floor, countertop, or adjacent doors. Opening dimensions, floor height, mounting points, and access through the nearby sink cabinet should be reviewed together.
The existing water, drain, and electrical connection areas should already be accessible and ready for review. HammerNest focuses on connection-ready positioning, leveling, bracket review, and cabinet fit.
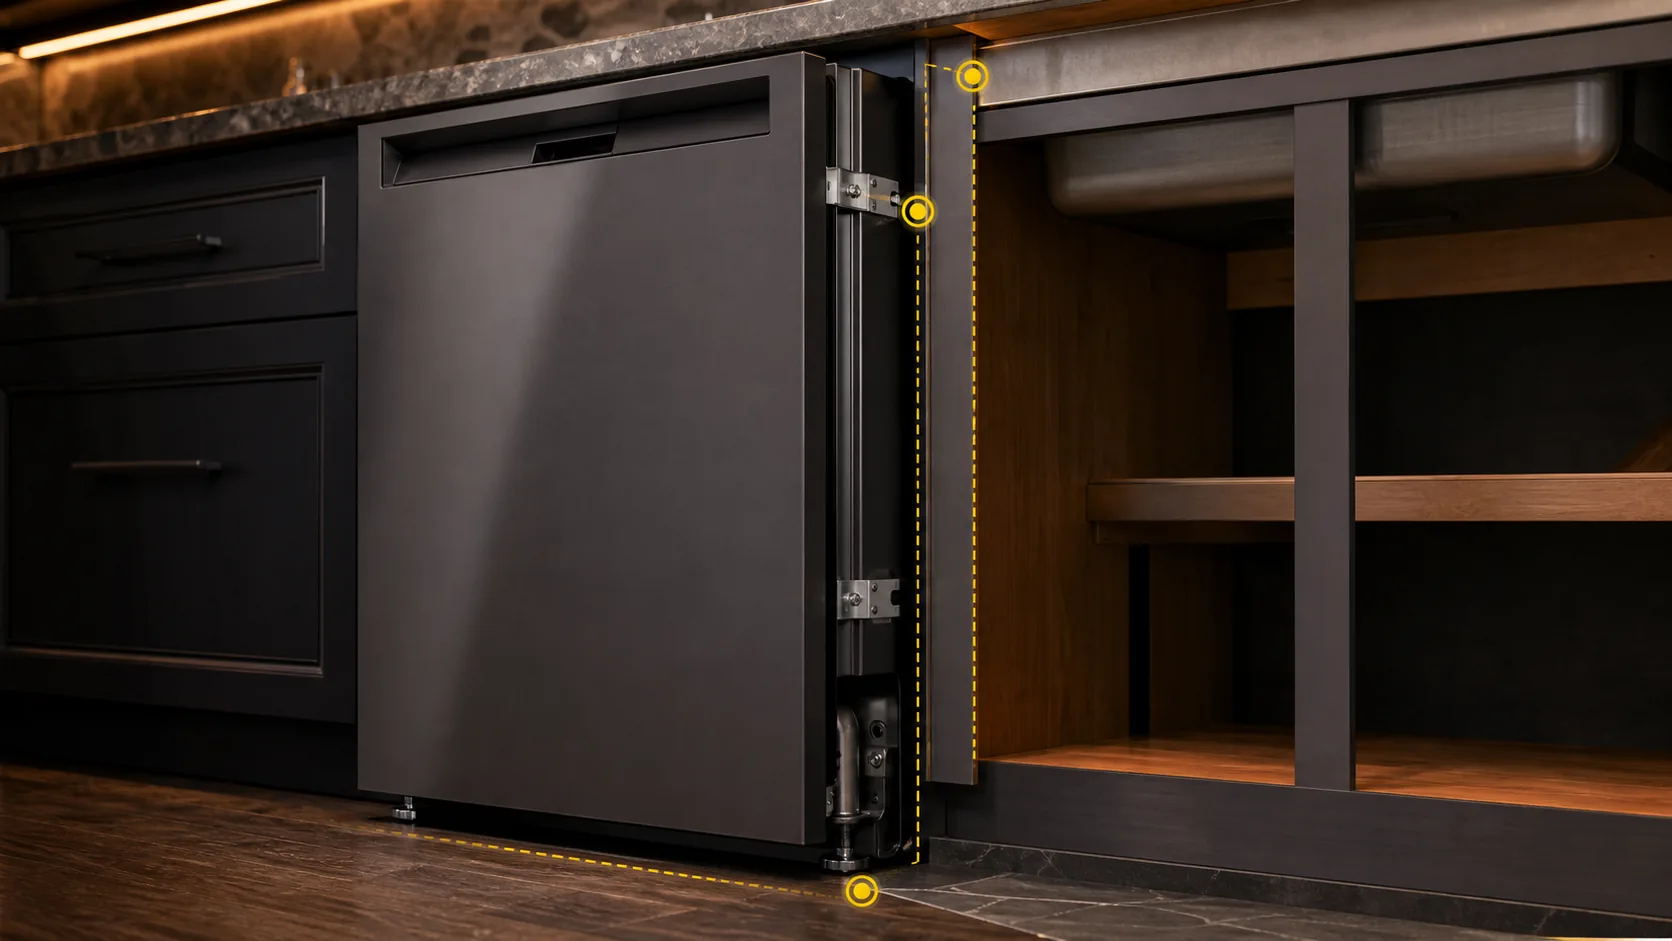
Cabinet opening
Measure the full width, height, and depth of the opening, including trim, cabinet edges, countertop overhangs, and flooring beneath the appliance.
Leveling and alignment
The dishwasher should sit evenly and align with the surrounding cabinet faces. Uneven flooring or damaged leveling feet can affect door movement.
Mounting support
Show the supplied top-mount or side-mount brackets, screws, clips, and manufacturer instructions.
Sink-cabinet access
Photograph the intact connection area inside the nearby sink cabinet, including existing openings and the general path to the utility area.
Cabinet and floor condition
Damaged cabinet edges, old mounting holes, unfinished flooring, loose trim, previous brackets, or a narrow opening can make the setup more involved.
Leaks, damaged valves, drain changes, electrical modifications, disposal reconfiguration, countertop alterations, or inaccessible utility connections should be handled by the appropriate provider before dishwasher setup proceeds.
Send the dishwasher model, cabinet measurements, floor condition, sink-cabinet access photos, mounting brackets, and instructions.
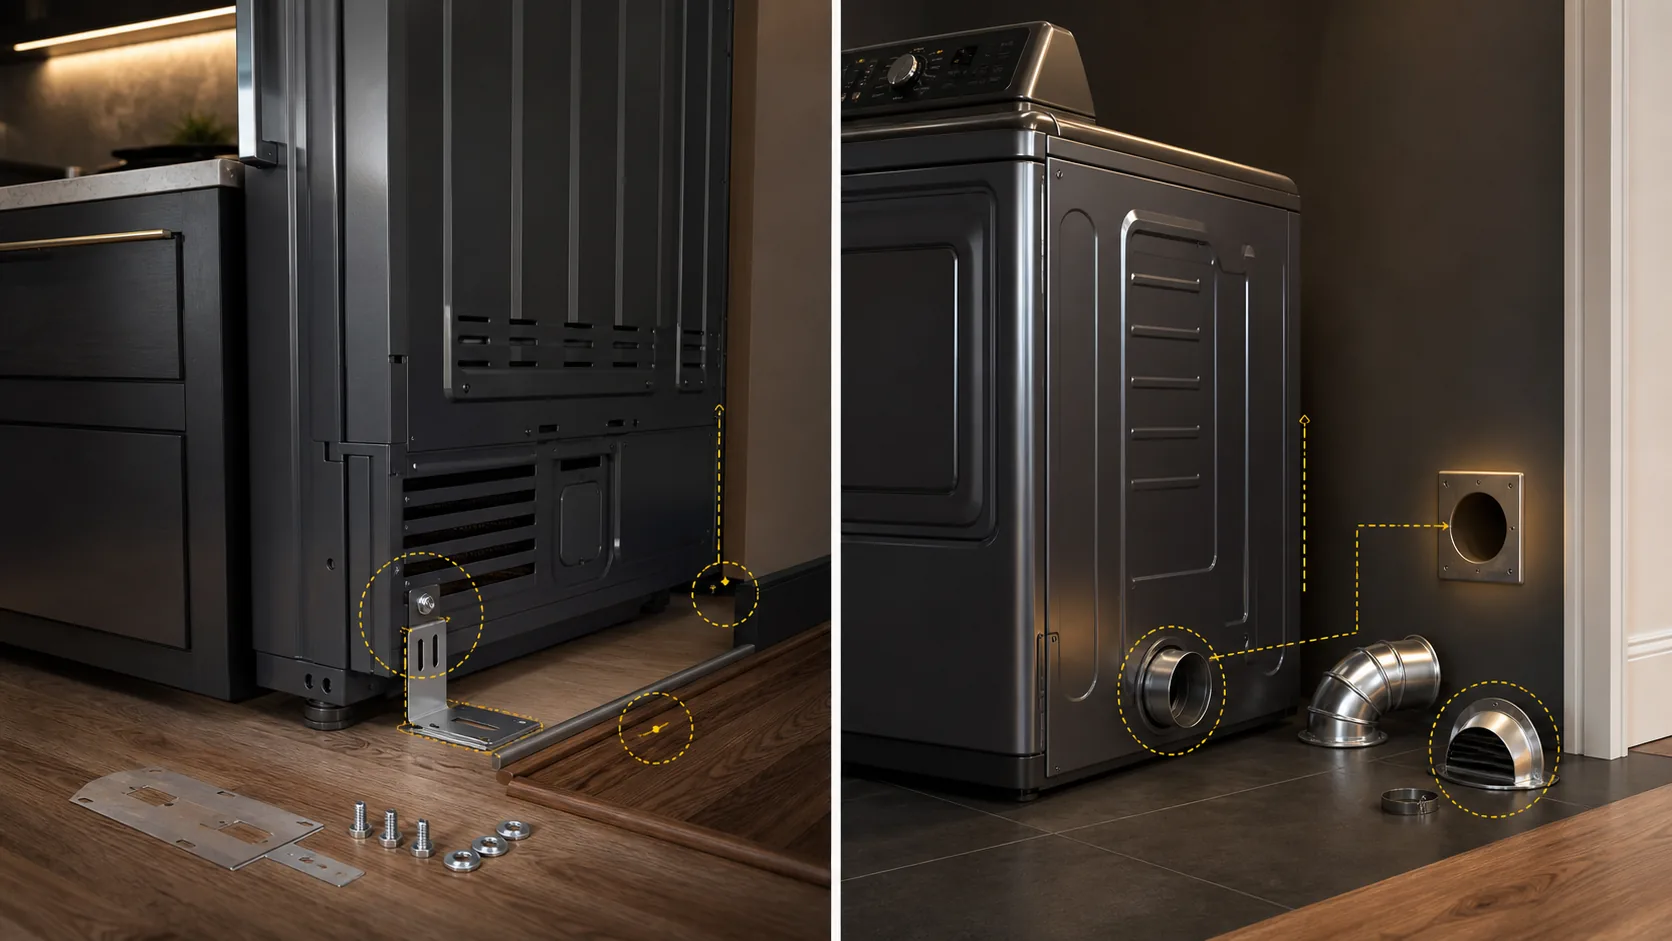
Safety hardware and airflow check
Safety hardware and airflow paths should be reviewed before final placement
Ranges and dryers include setup details that can be difficult to see once the appliance is pushed into place. Manufacturer-supplied safety hardware, floor and wall conditions, rear clearance, and the existing dryer vent path should be reviewed while the appliance area remains accessible.
HammerNest can review connection-ready positioning, supplied anti-tip components, and visible surface vent routing. Gas connections, electrical changes, concealed duct modifications, and HVAC work are separate scopes for the appropriate trade professional.
Range anti-tip hardware
Show the manufacturer-supplied anti-tip bracket, fasteners, template, and instructions with the rear of the range and finished floor or wall area.
Range fit and clearance
Photograph the appliance opening, flooring edges, nearby cabinets, trim, cords, and existing utility locations.
Dryer vent opening
Show the intact dryer outlet and existing wall vent opening in the same wide photo.
Surface vent path
Photograph the full visible route proposed between the dryer and wall opening, especially in tight alcoves or offset openings.
Vent component condition
Include supplied elbows, clamps, transition pieces, and vent sections, and show damaged, disconnected, long, or incompatible components.
Final rear clearance
Confirm that the appliance can sit in its intended position without pressing against the bracket, cord, vent components, trim, or wall.
Gas-range or gas-dryer connections, electrical circuit or receptacle changes, new or concealed dryer-vent routes, damaged ductwork, and broader airflow problems should be handled by the appropriate professional before final placement.
Send appliance models, manufacturer instructions, anti-tip components, vent-opening photos, visible airflow path, clearances, and supplied parts.
Estimate factors
What affects an appliance hookup help estimate
The setup scope depends on the appliance type, available space, existing utility locations, supplied parts, delivery access, and whether the request remains connection-ready or reveals work for another provider.
Appliance
The number, type, size, and weight of washers, dryers, refrigerators, dishwashers, or ranges affects the amount of positioning, handling, and setup review.
Fit
Freestanding, stacked, built-in, under-counter, and tight-alcove appliances have different clearance and alignment needs.
Utilities
Existing outlets, valves, drains, water lines, and dryer vent openings should already be installed, accessible, and in usable condition.
Parts
Hoses, cords, clamps, brackets, anti-tip hardware, vent pieces, mounting components, and manufacturer accessories should be complete and compatible.
Access
Narrow doors, stairs, tight turns, finished floors, heavy furniture, cabinetry, and limited working space can affect how easily the appliance reaches and fits the location.
Existing conditions
Old appliances, damaged openings, missing instructions, incomplete hardware, uneven floors, previous repairs, or inaccessible connections may expand the request.
Before sending the request, gather appliance models, manufacturer instructions, supplied parts, opening measurements, delivery-path dimensions, and photos of every existing utility location.
Share appliance details, measurements, utility photos, access conditions, supplied components, and visible concerns.
Project boundaries
When appliance hookup help may need a different provider
Some appliance setups involve utility changes, specialized connections, or built-in modifications beyond connection-ready handyman support. Those conditions should be identified before the appliance is positioned or connected.
Related small setup tasks can still be included in one request so the full situation can be reviewed. Submitting one list does not mean every item will use the same provider, repair method, or appointment.
Appliance work outside connection-ready setup support
Electrical work
New outlets, circuits, wiring, junction boxes, receptacle changes, electrical troubleshooting, or relocating power should be handled by an appropriate electrical professional.
Plumbing changes
New water lines, valve replacement, drain reconfiguration, leak repair, concealed plumbing, or inaccessible connections may require a plumbing provider.
Gas appliance connections
Gas-range and gas-dryer connections, gas-line changes, damaged fittings, leak testing, or uncertain gas components fall outside basic appliance setup support.
Dryer vent and HVAC work
New concealed dryer-vent routes, damaged ductwork, major airflow concerns, or vent-system alterations may require an HVAC or dryer-vent specialist.
Manufacturer service
Warranty-sensitive work, manufacturer-required commissioning, commercial appliances, specialized systems, or authorized repairs may need the manufacturer or approved provider.
Built-in and cabinetry modifications
Built-in appliances, cabinet resizing, countertop cutting, structural mounting, panel-ready installations, or major opening modifications may require another contractor.
Send the appliance model, installation instructions, utility photos, cabinet-opening details, and any concerns identified by the delivery team.
Share the complete appliance list, existing connection locations, supplied parts, access measurements, and any missing or unsuitable conditions.
Service hub
Related fixture and utility-adjacent help.
These pages may fit nearby fixture, light electrical, minor plumbing, and punch-list items, while licensed trade requirements stay separate.
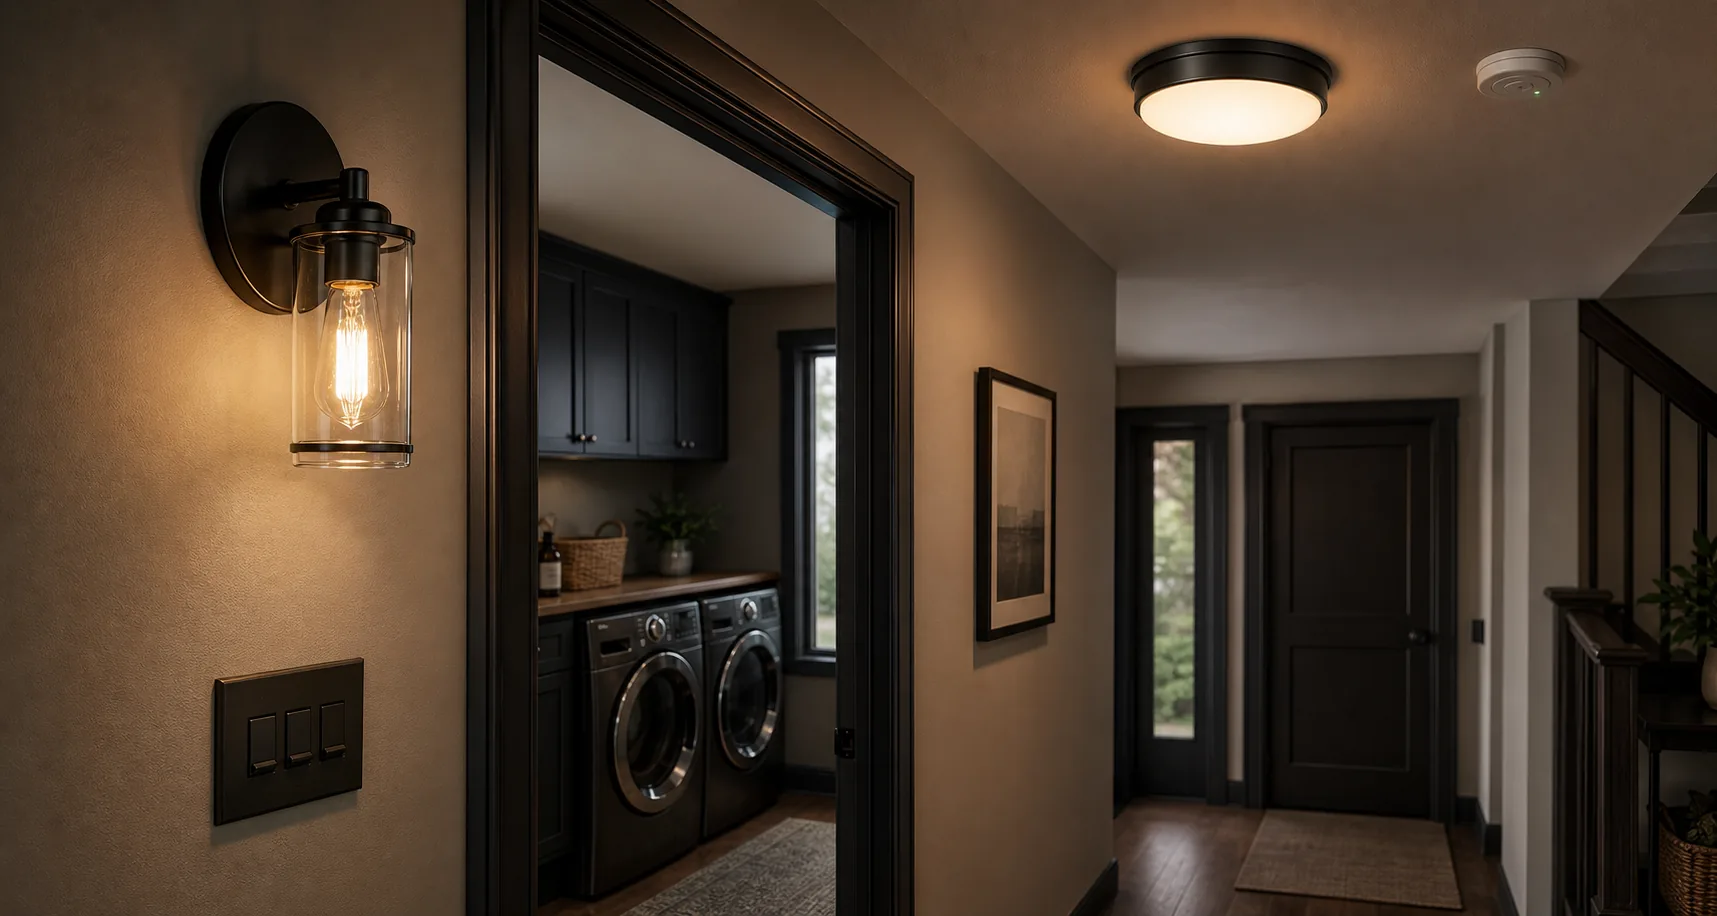 Light Electrical Handyman WorkNeed light electrical handyman work in Freeport, IL? HammerNest reviews photos, scope, materials, and timing for practical handyman help nearby.View Service ->
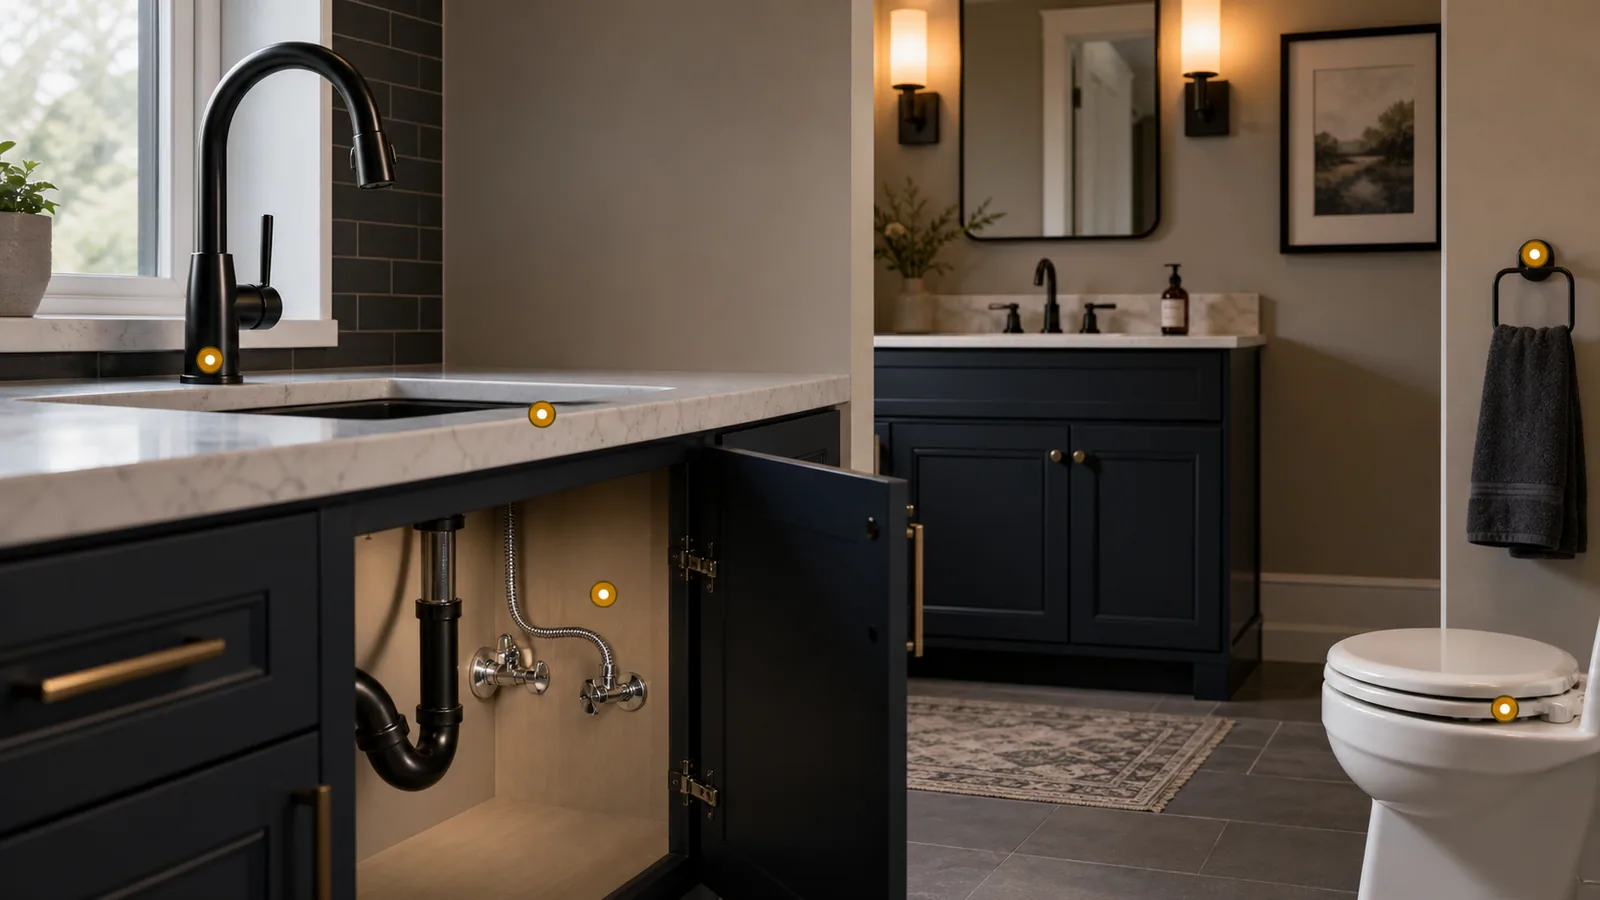 Faucet and Minor Plumbing RepairsNeed faucet and minor plumbing repairs in Freeport, IL? HammerNest reviews photos, scope, materials, and timing for practical handyman help nearby.View Service ->
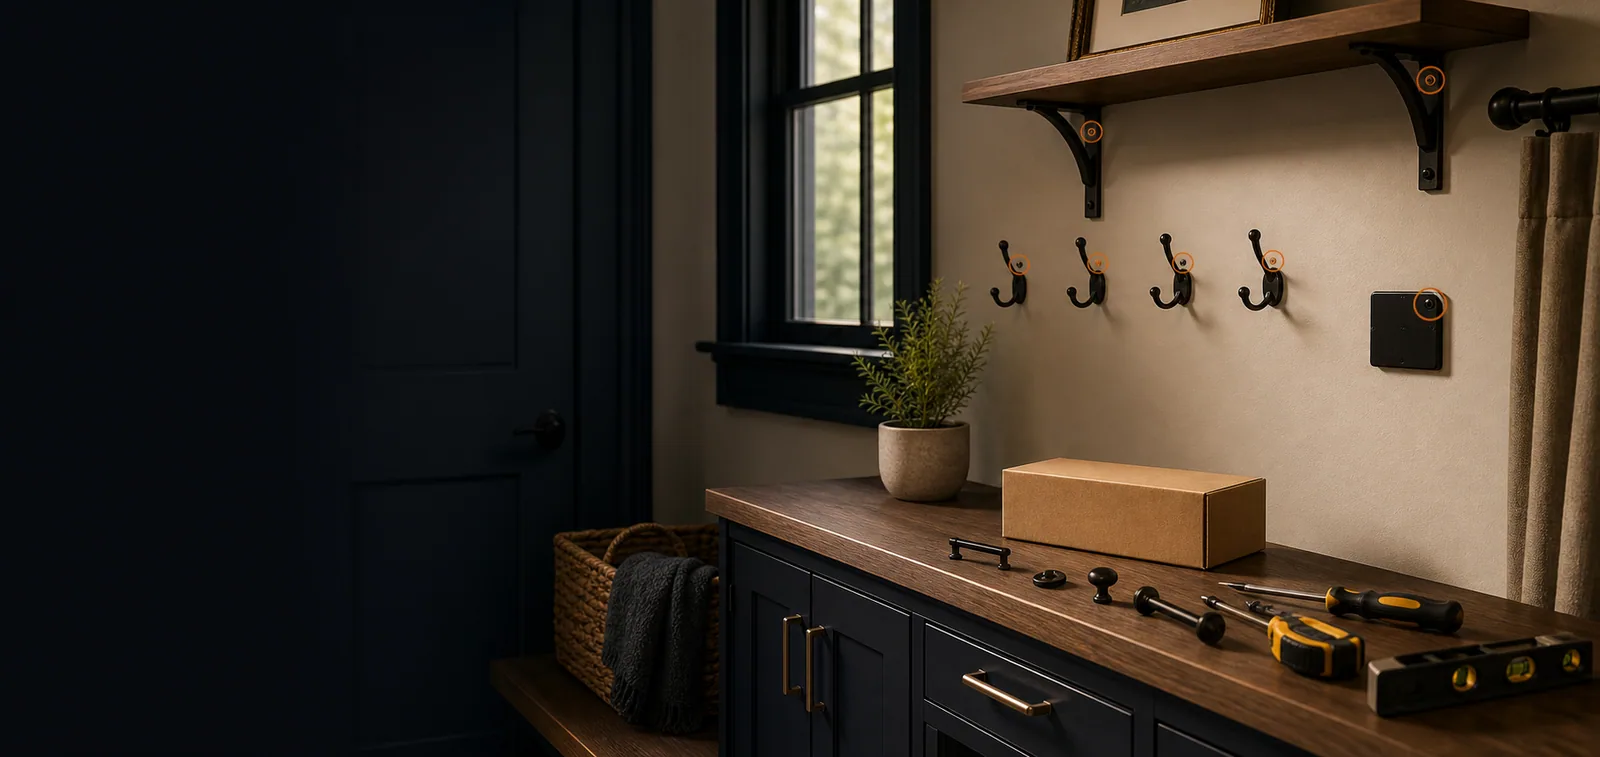 Fixture & Hardware Installation in Freeport, ILInstall curtain rods, blinds, bathroom accessories, hooks, organizers, cabinet handles, and small wall fixtures near Freeport, IL.View Service ->
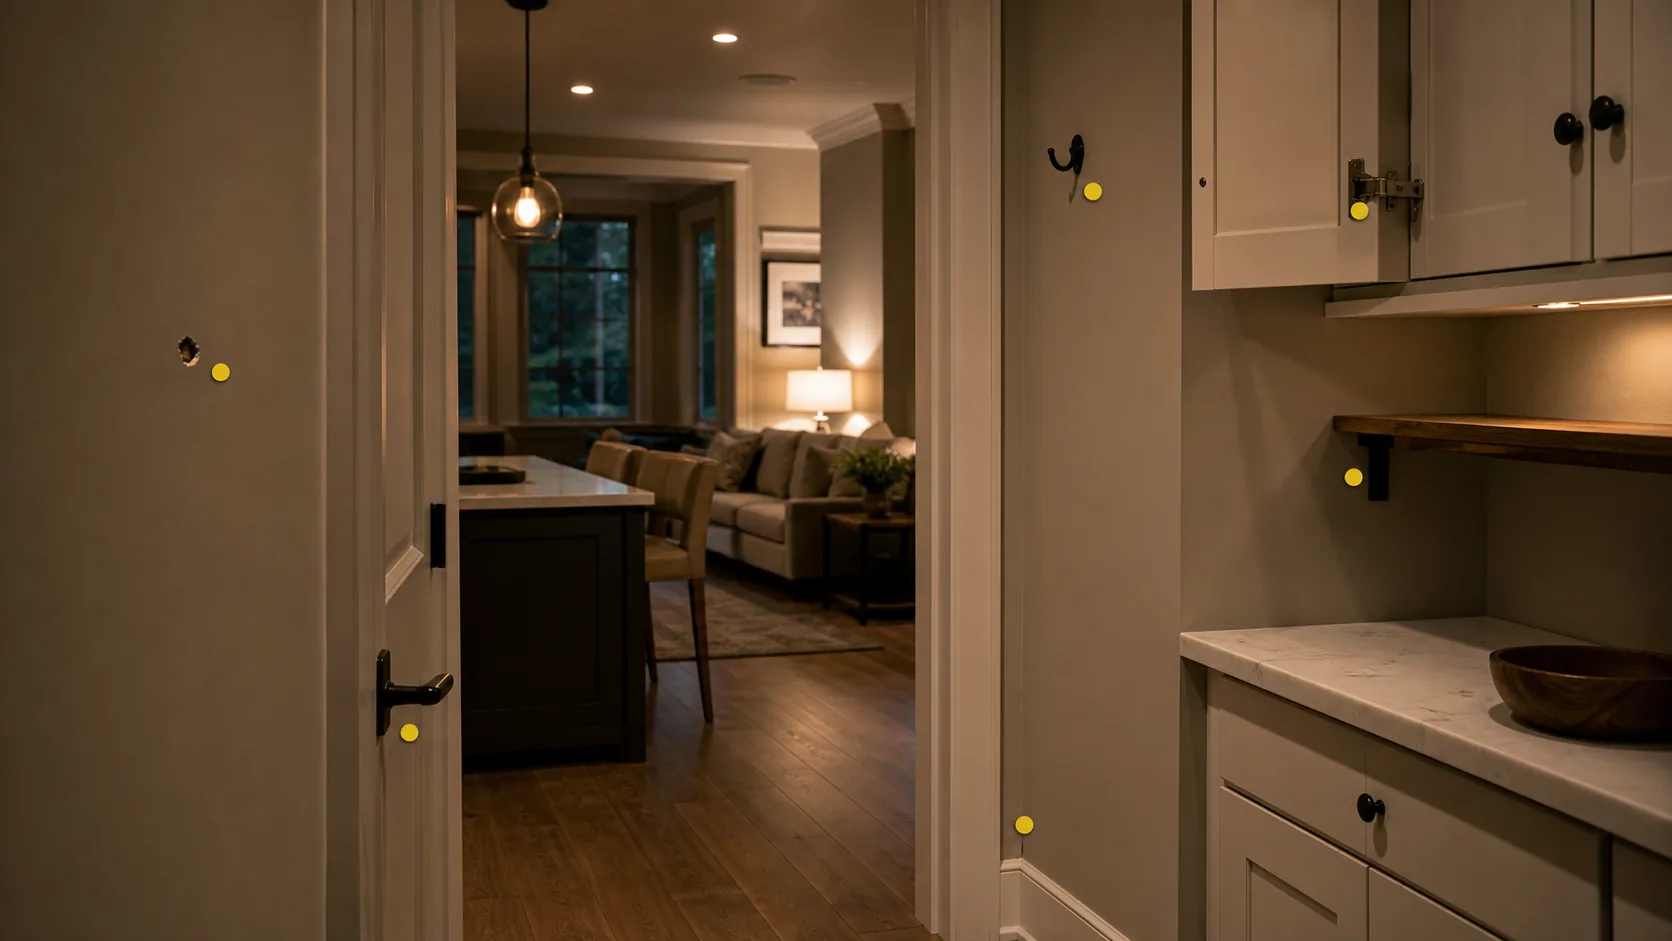 Punch List RepairsNeed punch list repairs in Freeport, IL? HammerNest reviews photos, scope, materials, and timing for practical handyman help nearby.View Service ->


 Not sure if we cover your area?


