
Fix Squeaky Floors
HammerNest helps homeowners around Freeport, IL document localized floor squeaks, clicks, rubbing sounds, and small movement areas before the next repair step is reviewed.
Fast response. Quality work. Fair pricing.
Localized floor noise
Squeaky floor help for localized problems in Freeport, IL
HammerNest reviews localized squeaky-floor problems in Freeport, IL, including one noisy step, a creak near a doorway, a click at a transition, or a small area that shifts or rubs under normal foot traffic.
The noise itself is only part of the picture. Floor material, trim contact, transition points, moisture history, the surface below, and whether the sound stays in one spot or spreads across several feet should all be reviewed together before the next step is clear.
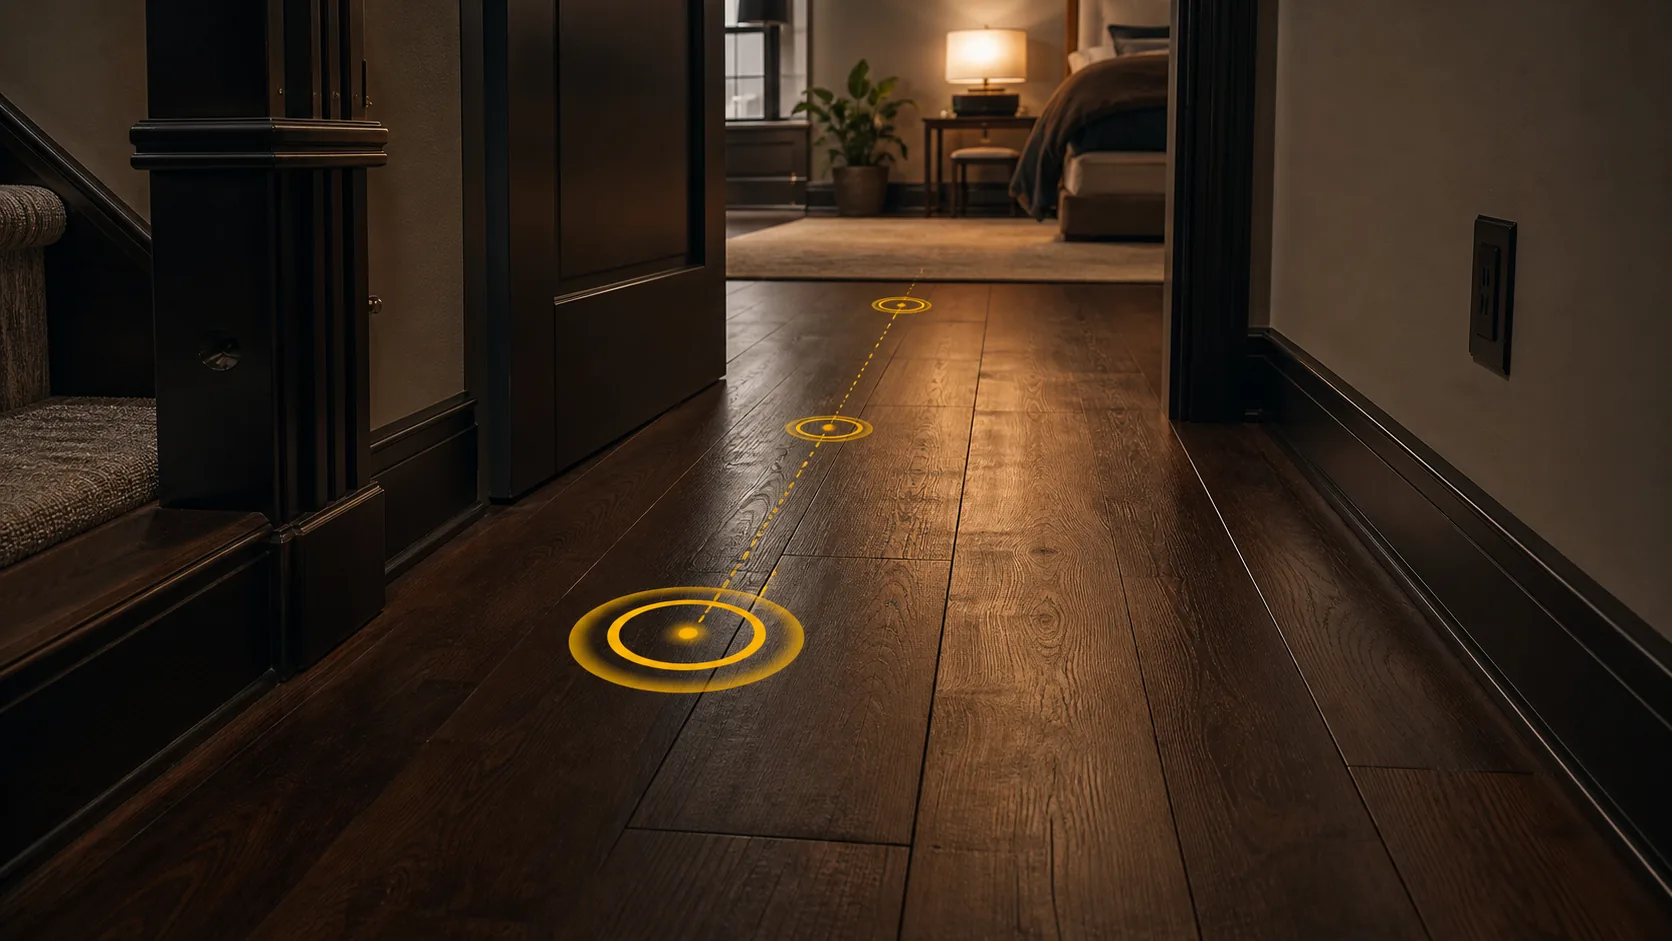
One-step squeaks
A floor that squeaks in one exact spot is different from noise spread across a larger section. Marking the location helps separate a small localized issue from broader movement.
Doorway and transition noise
Sounds near thresholds, room changes, or material transitions may involve rubbing, shifting, or contact between connected surfaces. Show both sides of the transition.
Floor movement underfoot
A squeak that comes with a slight flex, click, or pop may involve more than the finished floor surface alone. Describe whether the area feels solid, soft, loose, or uneven.
Trim and edge contact
Baseboards, shoe molding, casing, and tight floor edges can sometimes create noise where materials rub together. Include the wall edge and surrounding trim in close-up photos.
Multiple noisy spots
Several squeaks in one room, along a hallway, or across a stair area should be submitted as one full list because connected locations may point to a wider pattern.
If the floor squeaks in more than one place, send every location in the same request and identify where each sound happens.
Send the exact location, floor photos, and a short description of when the squeak happens so HammerNest can review the practical next step.
Project intake checklist
What to send with your squeaky-floor request
A marked location, short video, and a few clear photos help show where the noise starts, what flooring is installed, how large the affected area is, and whether recent moisture or renovation work may be connected.
Mark the exact location
Place painter tape or a paper marker beside each noisy spot, then take one wide photo showing its position in the room. Mark separate locations individually.
Record a short video
Capture the sound while someone walks normally across the marked area. Show the direction of travel and note whether the squeak occurs on every step or only from one direction.
Identify the floor material
Note whether the surface is hardwood, engineered wood, laminate, luxury vinyl plank, tile, carpet, or another material, and include close photos near the sound.
Show the size and pattern
Estimate the size of each noisy area and explain whether the locations form a line, cluster, doorway pattern, or isolated spot.
Recent changes and safe underside views
Mention leaks, seasonal changes, flooring work, appliance movement, trim installation, or renovations, and include safe underside photos when accessible.
Phone photos and short videos are enough when they clearly show the marked location, surrounding floor, sound pattern, and nearby trim or transitions. Do not remove flooring or open ceilings for photos.
Send the marked locations, short video, floor-material details, affected-area size, recent changes, and any safe underside photos.
How it works
Narrow the squeak location before follow-up.
A marked walking pattern is more useful than saying an entire room is noisy.
- Send repair detailsShare photos, location, urgency, and the best way to reach you.
- Upload photos if helpfulWide and close-up photos make the first review clearer.
- Choose call or text follow-upTell us how you prefer to handle the next step.
- Get the next stepIf the job fits, timing, materials, and the repair plan are confirmed.


Sound pattern check
The sound pattern helps narrow down where the movement starts
One sharp squeak in a single step location is different from a creak that follows a seam or spreads across several feet. Mapping where the sound begins, how it changes, and which direction of travel triggers it helps define the affected area.
Clicks, pops, rubbing sounds, and low creaks can involve different surfaces moving against one another. The goal is not to diagnose the repair from sound alone, but to provide enough context to review the floor, nearby edges, transitions, and support below together.
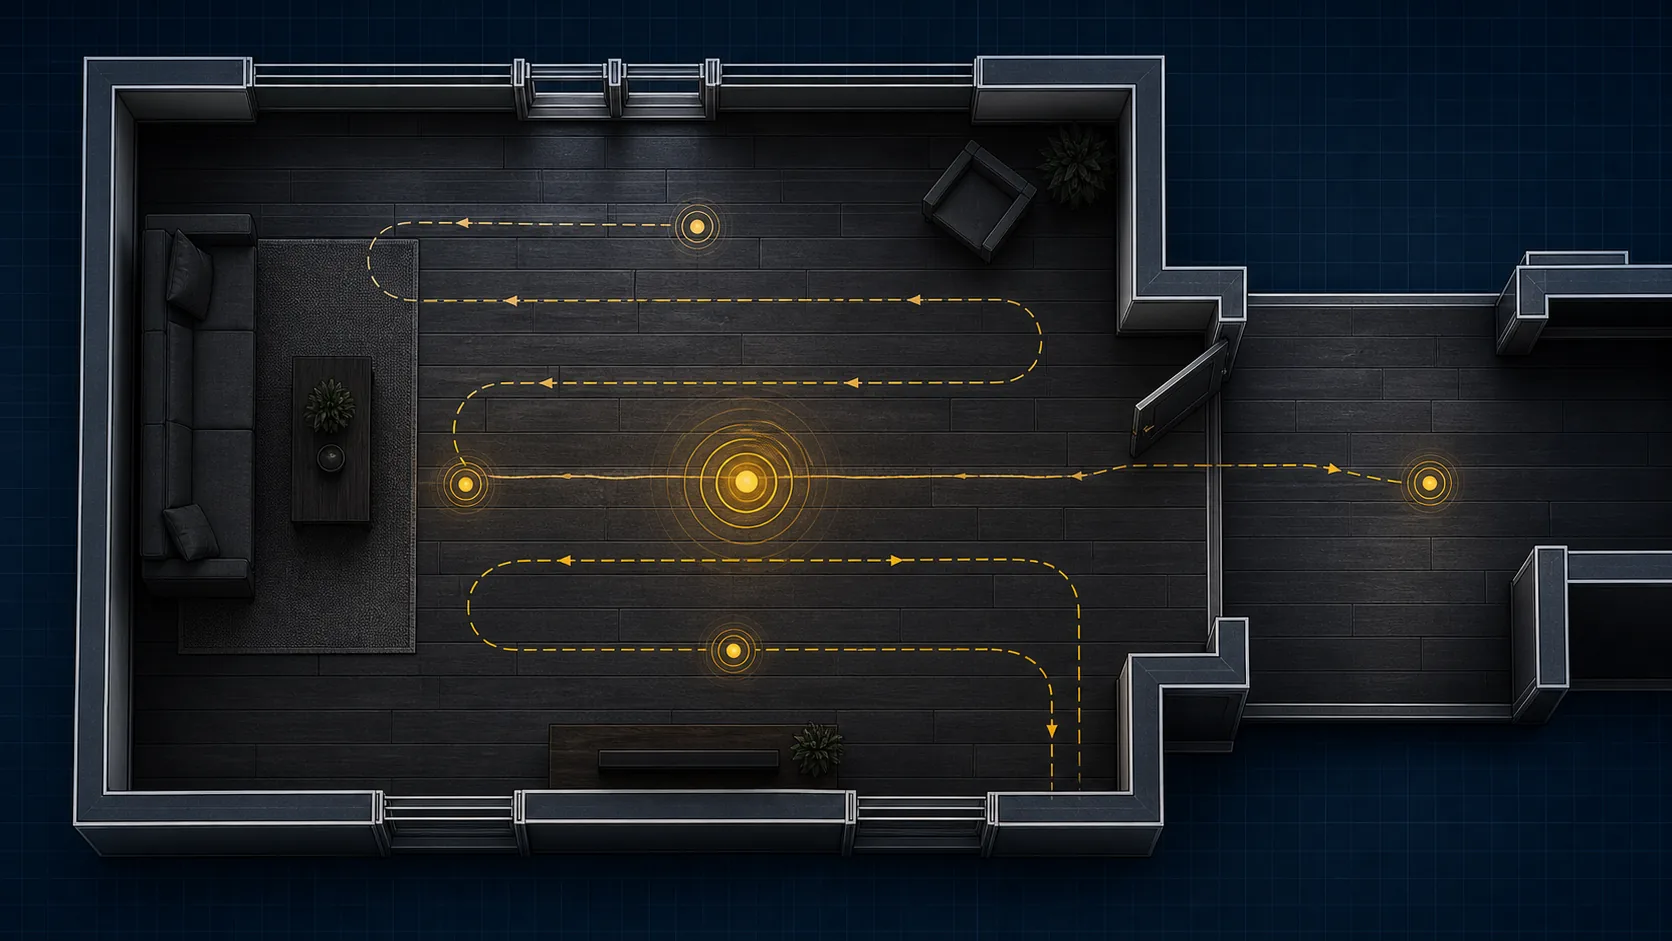
Location
Mark the exact point where the sound is strongest and show its position relative to walls, doors, cabinets, stairs, and flooring transitions.
Direction
Note whether the noise happens when walking toward the spot, away from it, or across it from one side.
Pressure
Explain whether the sound occurs with every step, only under full body weight, or only when pressure is placed on one edge or board.
Sound type
Describe the noise as a squeak, creak, click, pop, or rubbing sound. A short video is usually more useful than trying to describe it perfectly.
Pattern
Identify whether the noise stays in one spot, forms a line, appears in a cluster, or changes by season.
Do not test the floor by forcing movement, removing trim, or lifting flooring. Normal walking videos, marked locations, and clear photos are enough for initial review.
Send the marked location, walking direction, sound video, pressure pattern, and nearby room details.
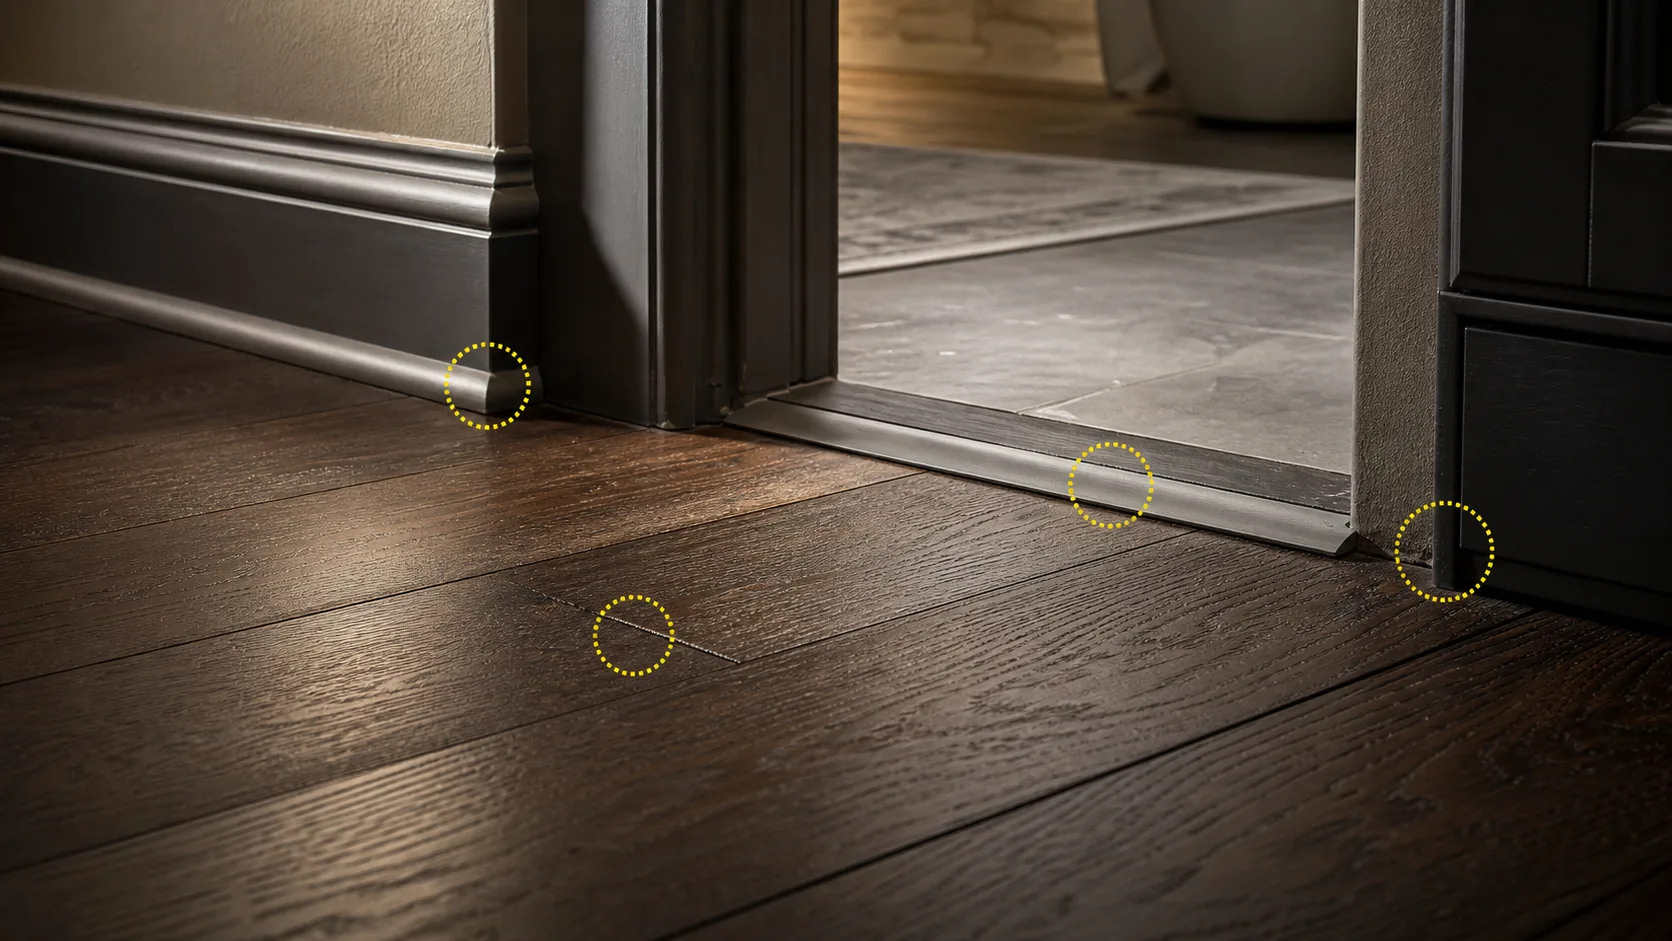
Surface contact check
Not every floor squeak starts beneath the floor
Some floor noise begins where finished materials rub, shift, or press against one another. A squeak near a plank seam, doorway, wall edge, or threshold may involve the visible flooring and surrounding finish details rather than the structure below.
The full contact area should be reviewed before assuming the sound comes from the subfloor. Floor seams, transitions, trim, and fixed edges can create different noise patterns as people walk through the space.
Floor surface
Loose, lifted, or slightly moving boards can create squeaks, clicks, or rubbing sounds at the finished surface.
Seams
Noise that follows a plank joint or board edge may involve movement between adjoining pieces. Photograph several rows around the seam.
Transitions
Thresholds and transition strips can move where different floor materials or heights meet. Note whether the sound occurs on the transition or beside it.
Trim
Baseboards, shoe molding, quarter-round, and door casing may rub against flooring as the materials move.
Fixed edges
Flooring can make noise where it meets walls, cabinets, stairs, vents, or other fixed features.
Do not pry up trim or flooring to test the source. Mark the noisy location and photograph nearby seams, transitions, and wall edges first.
Send wide photos, low-angle close-ups, the marked sound location, and details about nearby seams, trim, thresholds, or fixed edges.
Below-surface movement check
Floor movement may begin below the finished surface
The finished floor is only the top layer of the assembly. Underlayment, subfloor panels, fasteners, and support below can all influence whether one area squeaks, flexes, or feels slightly uneven under normal foot traffic.
Access changes what can be reviewed. An unfinished basement or open ceiling may reveal useful conditions below the noisy spot, while carpet, tile, cabinets, and finished ceilings can limit what is visible without disturbing completed surfaces.
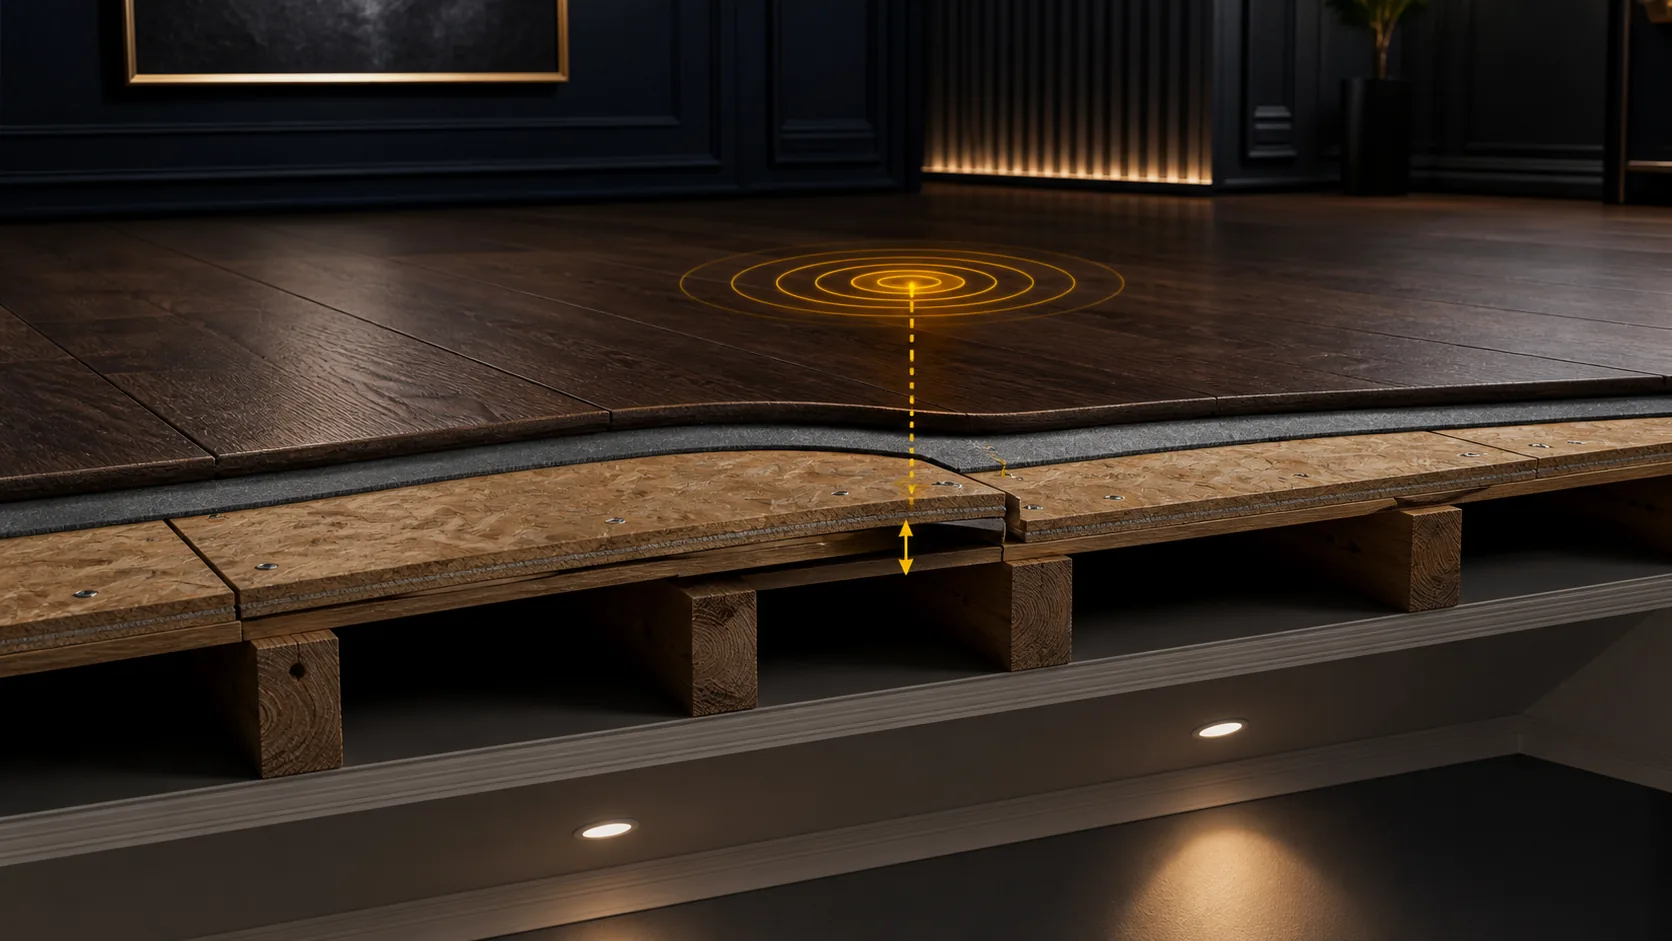
Finished floor
Hardwood, laminate, luxury vinyl plank, tile, and carpet each transfer movement and sound differently.
Underlayment
Some flooring systems include a layer between the finished floor and subfloor, and movement or rubbing between layers may contribute to noise.
Subfloor
The subfloor supports the finished material across the room. Flexing, unevenness, moisture damage, or movement across connected panels may affect more than one location.
Support below
Joists and other support beneath the subfloor can influence how the area behaves, but the exact condition may not be visible from the room above.
Access
Basements, crawlspaces, or unfinished ceilings can provide useful underside views when safely accessible, while finished surfaces may limit observation.
Do not remove flooring, cut ceilings, or open finished surfaces for photos. Include safe underside views when available and mention broad flexing, softness, unevenness, moisture, or movement beyond the marked squeak.
Send the marked floor location, flooring type, movement details, room photos, and any safely accessible underside views.
Seasonal and moisture check
Moisture and seasonal movement can change how a floor sounds
Floors can sound different as indoor humidity, outdoor temperatures, and moisture conditions change through the year. Around Freeport and northern Illinois, a squeak that appears during one season, after a leak, or following recent home work is useful context.
Humidity changes
Wood-based flooring, trim, and subfloor materials can expand or contract as indoor humidity changes. Note whether the noise appears during heating season, humid weather, or year-round.
Moisture exposure
Leaks, damp basements, wet entryways, appliance problems, and plumbing events can affect the finished floor or material below it.
Seasonal pattern
A squeak that comes and goes may still follow a clear pattern. Mention when it is loudest, how long it lasts, and whether weather changes seem connected.
Recent work
New flooring, trim installation, cabinet work, door replacement, appliance movement, or other renovations can change how nearby materials meet and move.
Material changes
New gaps, tighter seams, lifted edges, rubbing trim, or altered transitions may appear as materials adjust. Photograph visible changes near the marked sound location.
Active moisture, persistent dampness, widespread swelling, softness, or ongoing leaks should be addressed before a noise-focused repair is planned.
Send the marked location, sound pattern, flooring photos, moisture history, seasonal timing, and details about any recent work near the affected area.
Estimate factors
What affects a squeaky-floor repair estimate
The scope depends on how many areas make noise, the flooring material, the sound pattern, access above and below, nearby finishes, and whether the squeak appears isolated or connected to broader floor movement.
Locations
One marked squeak is different from several noisy spots spread across a room, hallway, stair area, or multiple connected spaces.
Floor type
Hardwood, engineered wood, laminate, luxury vinyl plank, carpet, and tile create different surface conditions and access limitations.
Sound pattern
A single squeak, seam-following click, broad creak, or noise paired with visible flexing may require different levels of review.
Access
An unfinished basement or open ceiling below may provide useful access, while carpet, tile, cabinets, appliances, and finished ceilings can make the source harder to observe.
Surrounding finish
Transitions, thresholds, baseboards, shoe molding, door casing, stairs, and fixed cabinetry may rub against or move with the flooring near the noisy area.
Existing conditions
Moisture staining, softness, unevenness, previous repairs, recent renovation work, or movement extending beyond the marked spot can expand the request.
Before sending the request, mark every noisy location, record a short walking video, identify the flooring material, and photograph the surrounding seams, trim, and transitions.
Share the marked locations, sound videos, flooring details, access conditions, recent changes, and visible movement so HammerNest can review what the project may involve.
Project boundaries
When a squeaky floor may need a broader repair plan
Some floor noise extends beyond one loose seam, rubbing edge, or isolated step location. Broad flexing, significant unevenness, moisture damage, or movement across several connected areas may require a flooring contractor or another appropriate provider.
Related small flooring and trim problems can still be included in the same request so the complete area can be reviewed together. One submitted list does not mean every location will use the same repair approach or fit one appointment.
Squeaky-floor work outside a simple localized request
Broad flexing or unevenness
Movement spanning much of a room, hallway, or several connected spaces may indicate a wider subfloor or support condition.
Active moisture or damaged material
Ongoing leaks, persistent dampness, widespread swelling, mold concerns, or soft flooring and subfloor material should be addressed before a noise-focused repair.
Structural movement
Damaged joists, major settling, shifting supports, or movement affecting several rooms may require broader evaluation beyond the finished floor.
Extensive flooring or subfloor work
Projects requiring large areas of flooring removal, major subfloor replacement, significant leveling, or full-room installation may be better suited to a flooring contractor.
Finished-surface access limits
Tile, carpet, built-in cabinets, appliances, finished ceilings, and other completed surfaces may limit access to the source.
Related localized repairs
Loose transitions, rubbing trim, lifted plank edges, door-clearance issues, and small flooring-edge problems can be included when near the same noisy area.
Show every noisy location, any visible flexing or unevenness, moisture history, and the finished surfaces above and below.
Share the marked locations, videos, flooring details, access conditions, moisture concerns, and nearby repair items.
Service hub
Related floor and finish paths.
These pages may fit nearby flooring, trim, transition, and property-turnover repair needs.
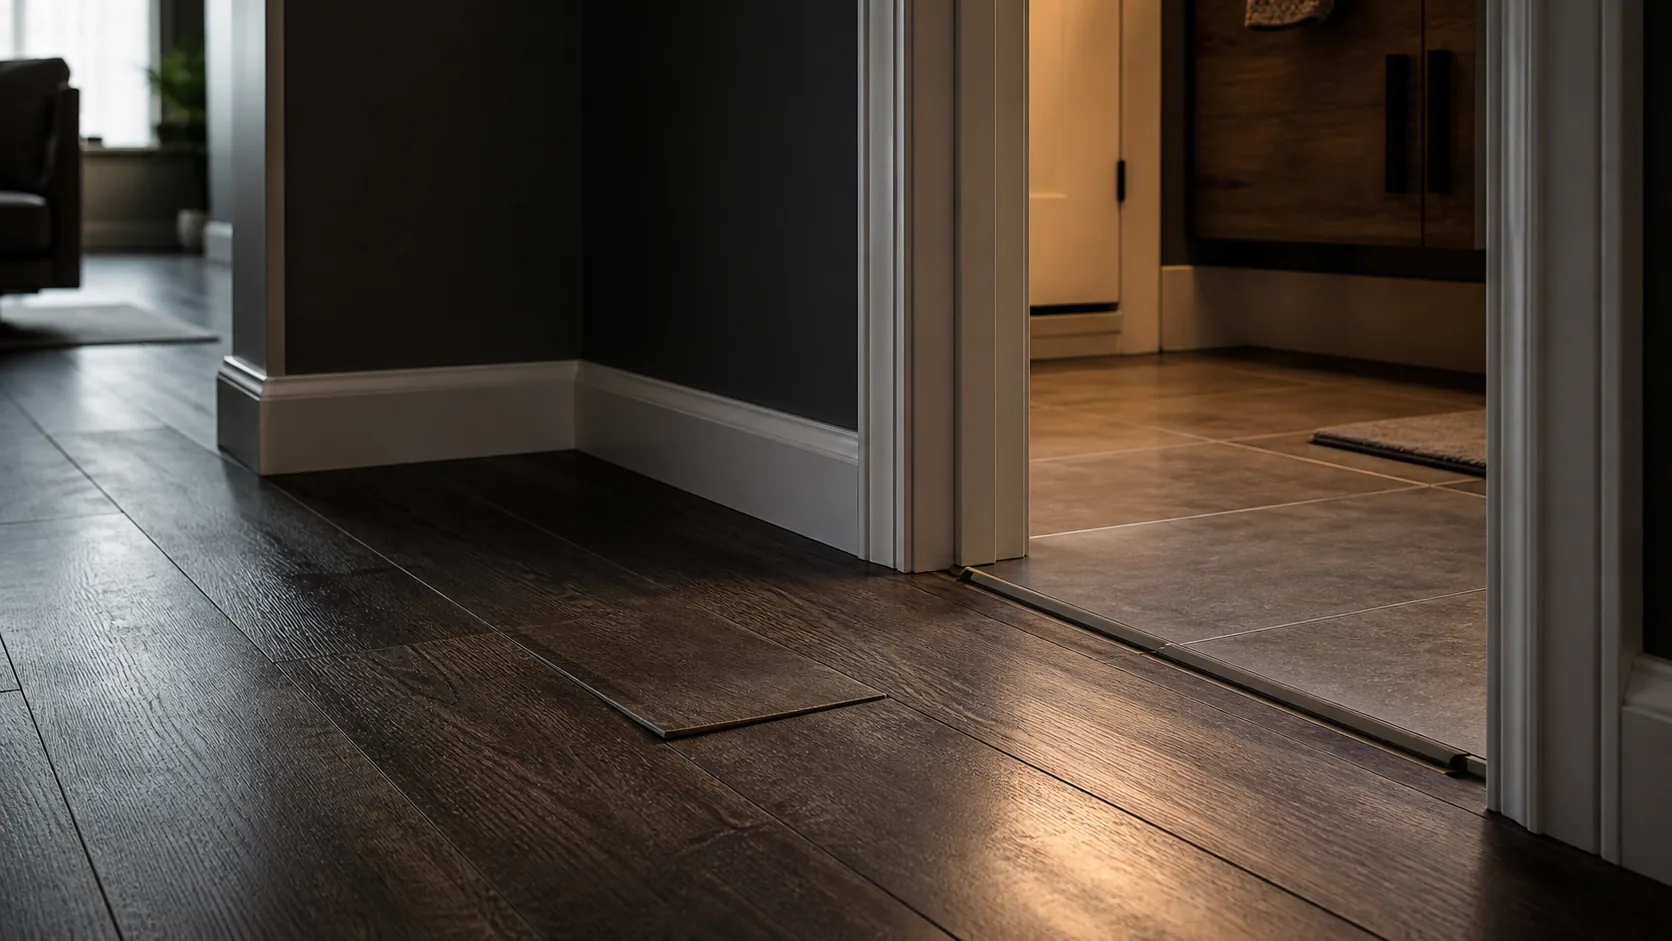 Flooring RepairNeed flooring repair in Freeport, IL? HammerNest reviews photos, scope, materials, and timing for practical handyman help nearby.View Service ->
 Trim and Molding RepairNeed trim and molding repair in Freeport, IL? HammerNest reviews photos, scope, materials, and timing for practical handyman help nearby.View Service ->
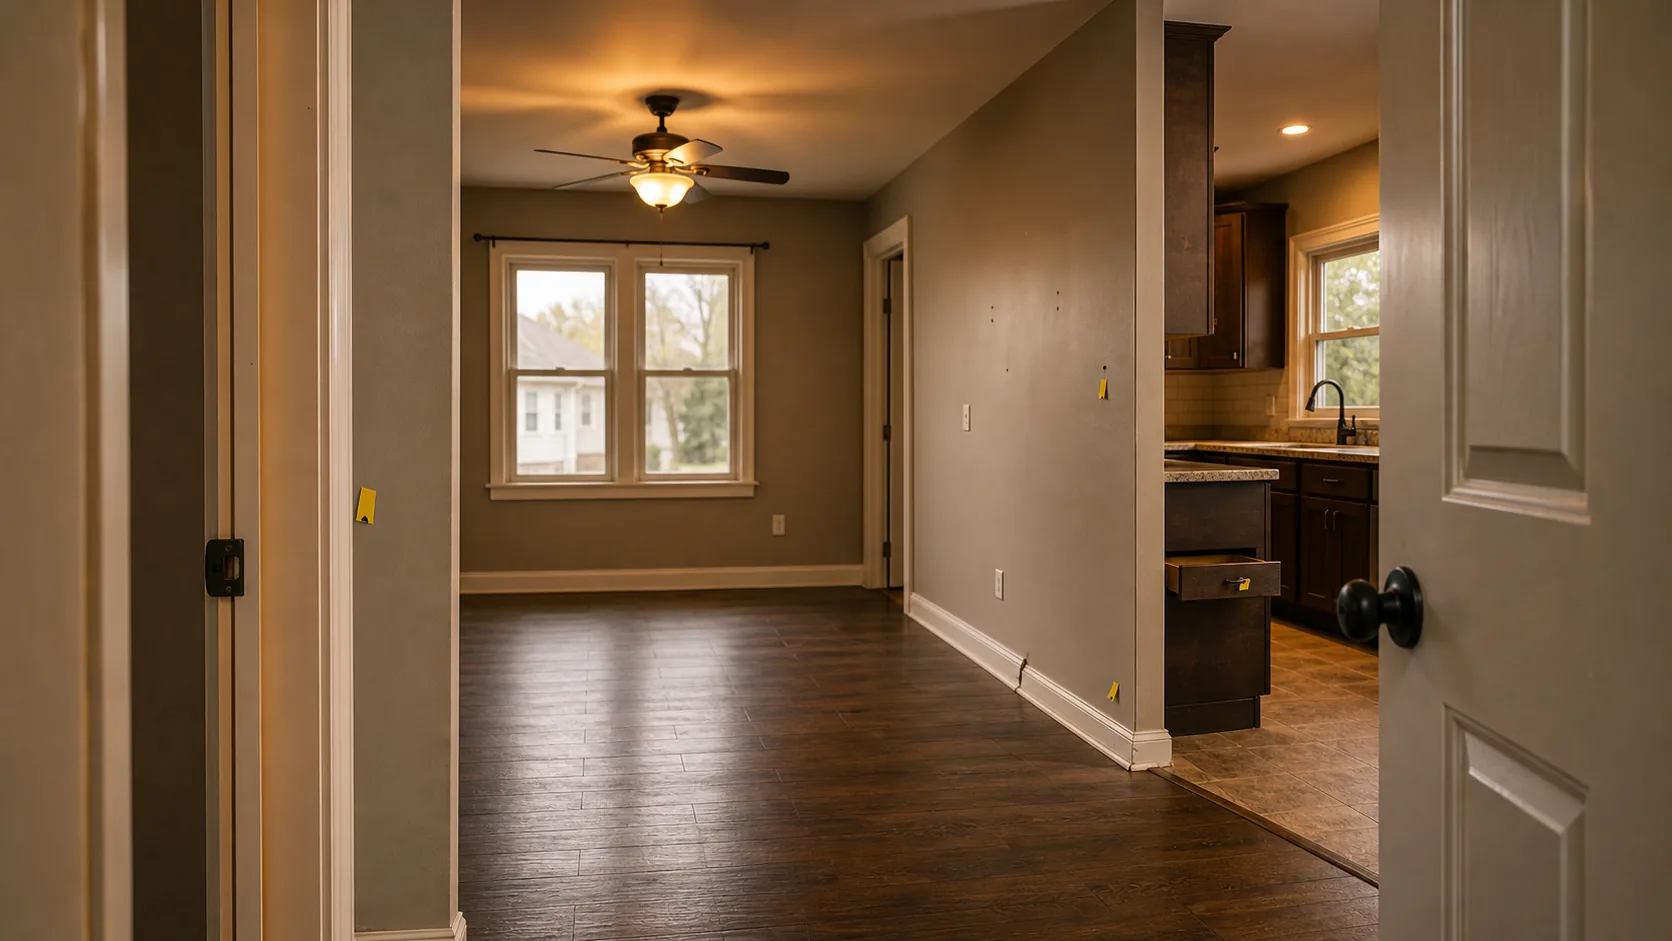 Rental Property Turnover RepairsNeed rental property turnover repairs in Freeport, IL? HammerNest reviews photos, scope, materials, and timing for practical handyman help nearby.View Service ->
 Request EstimateSend photos, timing, property details, and repair notes so HammerNest can review your handyman request before the next step.View Service ->


 Not sure if we cover your area?


