
Shelving Installation
HammerNest provides shelving installation help in Freeport, IL for floating shelves, bracket systems, closet storage, garage organization, and other wall-mounted shelving projects.
Fast response. Quality work. Fair pricing.
Small home improvement projects
Shelving installation for practical storage in Freeport, IL
From floating shelves in a living room to closet shelving, pantry storage, and garage organization rails, HammerNest reviews shelving installation projects with the full setup in mind.
A shelving project is not just about attaching hardware to a wall. The shelf style, wall surface, intended use, and mounting location all matter together, whether the request is for one decorative shelf or a longer storage system.
Floating shelves
Clean wall-mounted shelving for display, light storage, and everyday room organization.
Bracket shelves
Visible supports can work well when practical storage matters more than a concealed mount.
Closet and pantry shelving
Storage shelves, shelf-and-rod layouts, and pantry organization are easier to review with room photos.
Garage organization rails
Garage shelves and rail systems need attention to wall material, access, and intended storage use.
Complete project lists
If shelving is part of a larger small-project list, send the whole scope together for review.
Project intake checklist
What to send with your shelving request
A few clear details help HammerNest understand the shelf, the wall, and the intended layout before reviewing the project. Send what you have; the goal is to show the complete setup, not create a perfect set of measurements.
Full wall photo
Take one wide photo showing the entire wall and as much of the surrounding room as possible. Include nearby furniture, doors, cabinets, or fixed features.
Surface details
Add close-up photos of the wall surface, trim, outlets, switches, vents, old anchors, or existing holes near the installation area.
Shelf and hardware
Send shelf dimensions, quantity, product link, instructions, packaging details, or a product model when available.
Intended layout
Provide rough measurements for height, spacing, and general position. Marked-up photos are fine if that is easier.
Storage plans
Describe what the shelves will hold so the mounting approach can be reviewed against the intended use.
Imperfect photos are fine when they show the right details. A wide room photo plus a few close-ups usually explains more than a single tight crop.
Include the shelf product, wall photos, rough placement, and what the shelves will hold.
How it works
How the shelving request works.
A simple repair flow from shelf details to follow-up.
- Send repair detailsShare photos, location, urgency, and the best way to reach you.
- Upload photos if helpfulWide and close-up photos make the first review clearer.
- Choose call or text follow-upTell us how you prefer to handle the next step.
- Get the next stepIf the job fits, timing, materials, and the repair plan are confirmed.


Surface check
The wall determines how the shelf should be mounted
The shelf is only one part of the installation. The visible wall surface, the structure behind it, the supplied hardware, and the intended shelf use all affect how the mounting plan should be reviewed.
Clear photos can identify obvious conditions, but the finished surface may not reveal studs, pipes, wiring, damage, or previous repairs hidden behind it.
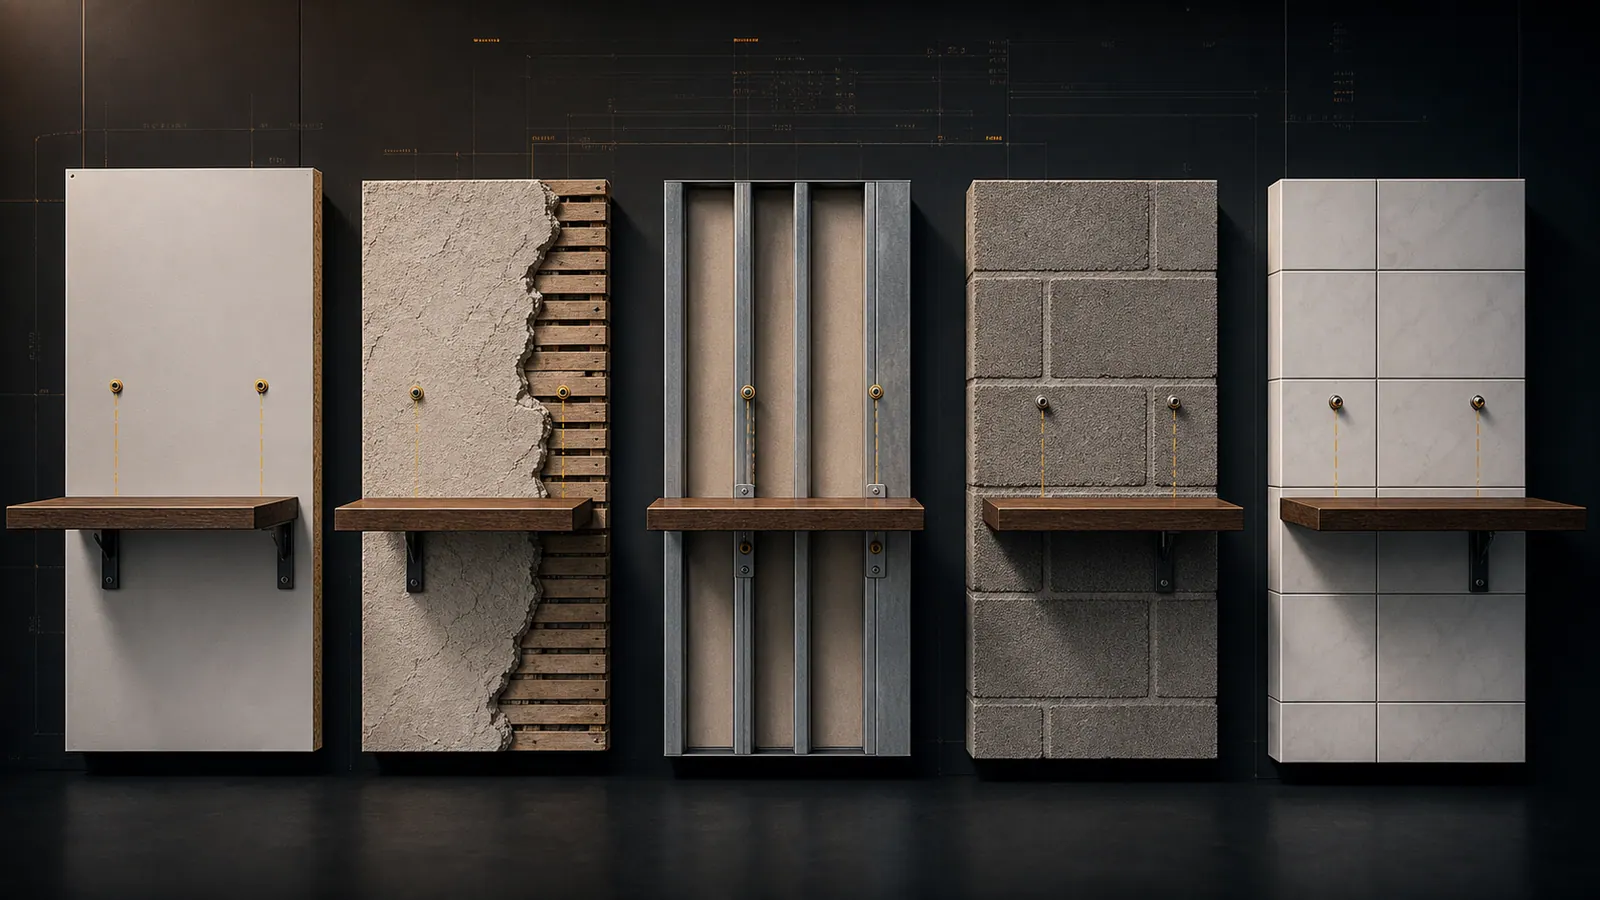
Drywall and wood studs
Drywall over wood framing may allow brackets or mounting rails to be secured into studs when spacing and placement work together.
Plaster and lath
Older plaster can be brittle, uneven, or previously repaired. Show cracks, loose areas, or failed anchors in the photos.
Metal studs and hollow walls
Metal framing and hollow-wall conditions may require a different fastening approach than standard wood framing.
Masonry and block
Concrete block, brick, and masonry surfaces can change drilling, anchoring, and dust-control expectations.
Tile walls
Tile needs careful placement around grout lines, fixtures, and possible plumbing or concealed systems.
If the wall shows loose material, heavy cracking, suspected hidden utilities, or conditions outside handyman scope, the next step may involve extra evaluation or a different specialist before drilling begins.
Layout planning
Plan the shelf around the room and how it will be used
A shelf can be mounted securely and still feel wrong if the height, spacing, depth, or alignment does not fit the room. The layout should account for how people move through the space and what needs to remain easy to reach.
A few rough measurements and a clear explanation of what the shelves will hold can prevent an awkward layout or unnecessary changes later.
Height
Set the mounting height around comfortable reach, furniture, countertops, desks, switches, and other fixed features.
Spacing
Plan the distance between shelves around the height of items being stored or displayed, with enough clearance to use the space.
Depth
Choose a shelf depth that gives useful storage without interfering with walkways, doors, seating, appliances, or work areas.
Alignment
Review how the shelves relate to trim, cabinets, windows, wall centerlines, and one another so the layout feels intentional.
For intended load, use the shelf manufacturer limits as the starting point rather than treating every shelf as heavy-duty storage.
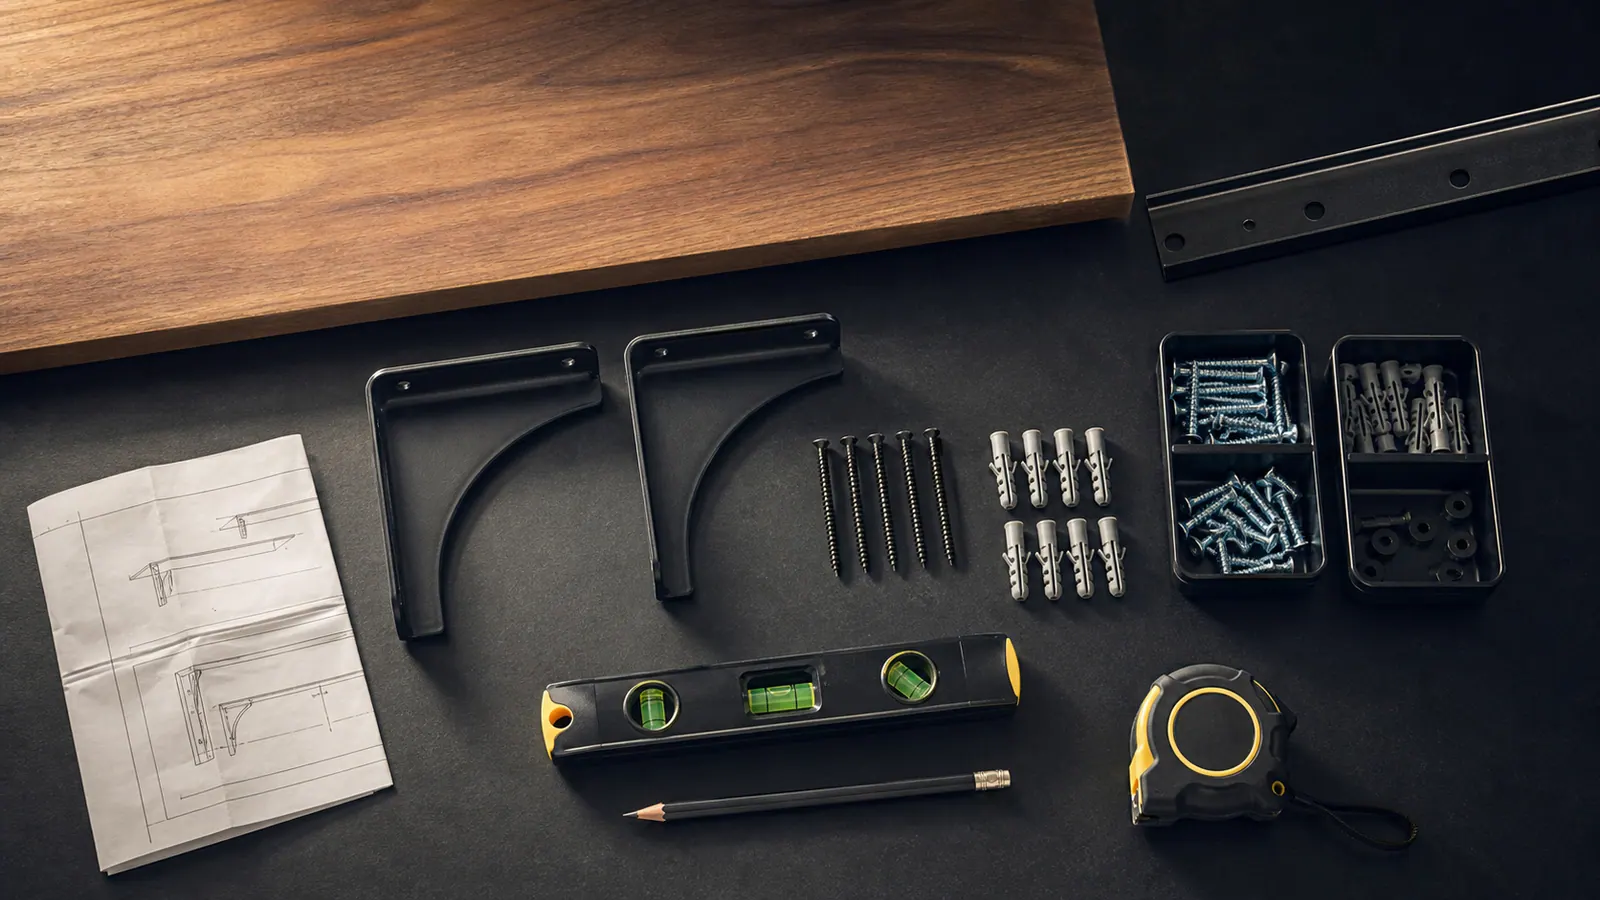
Hardware check
Check the shelf, brackets, and mounting hardware
Before installation, confirm that the shelf system includes the parts needed to assemble and mount it correctly. Brackets, rails, templates, screws, anchors, and instructions should all be identified before the project begins.
The supplied hardware also needs to match the actual wall condition. A complete kit does not always mean the included anchors are appropriate for drywall, plaster, masonry, tile, or another mounting surface.
- Shelf quantity and dimensions
- Visible brackets, concealed supports, rails, and connecting pieces
- Screws, anchors, and supplied fasteners
- Instructions, drilling template, product label, or product link
- Shelf condition, finish, edges, and mounting channels
- System model details for modular or adjustable shelving
If parts are missing or the hardware does not match the wall, the project may need product clarification, replacement hardware, or a revised plan before work is confirmed.
Estimate factors
What affects a shelving installation estimate
A shelving project can be straightforward or more involved depending on the product, wall, layout, and access to the mounting area. Sharing the full scope upfront makes it easier to understand what the installation may require before the next step is planned.
Product
The number, length, depth, and style of shelves affect layout, assembly, and mounting work.
Surface
Wall material, stud placement, fastening requirements, and mounting-area condition influence the approach.
Layout
Continuous alignment, corner shelves, rail systems, and shelves spanning multiple walls need more planning.
Access
Tall walls, stairways, narrow rooms, heavy furniture, or blocked areas can make preparation more involved.
Existing conditions
Old anchor removal, wall preparation, missing hardware, or product assembly can expand the original scope.
Clear the immediate work area when possible, keep all shelf parts together, and point out known plumbing, electrical, previous mounting work, or wall repairs near the installation area.
Product, wall photos, layout, and access details make the shelving request easier to review.
Bundle your project list
Shelving can be reviewed with other small home projects
If shelving is only one item on your list, include related mounting, assembly, or organization work in the same request. Photograph each area, identify the products involved, and note where every item should be installed.
Submitting one complete request helps HammerNest review the overall scope, but it does not mean every item will automatically fit the same visit.
Share the product, wall photos, preferred layout, and any related small projects so HammerNest can review the practical next step.
May need a different specialist
Custom built-ins
Built-in cabinetry or fully custom storage systems may call for a cabinetmaker or remodeler.
Structural wall changes
Work that changes framing, structure, or load paths needs the right specialist before shelving is planned.
Commercial storage racks
Heavy-duty commercial racking can involve different loads, anchors, and safety requirements.
Glass fabrication
Glass shelves, custom mirrors, and fabricated panels may need a glass specialist.
Concealed systems
Suspected wiring, plumbing, gas, or other hidden building systems should be evaluated before drilling.
Service hub
Related small project help.
These pages may fit the same shelving or room-organization request.
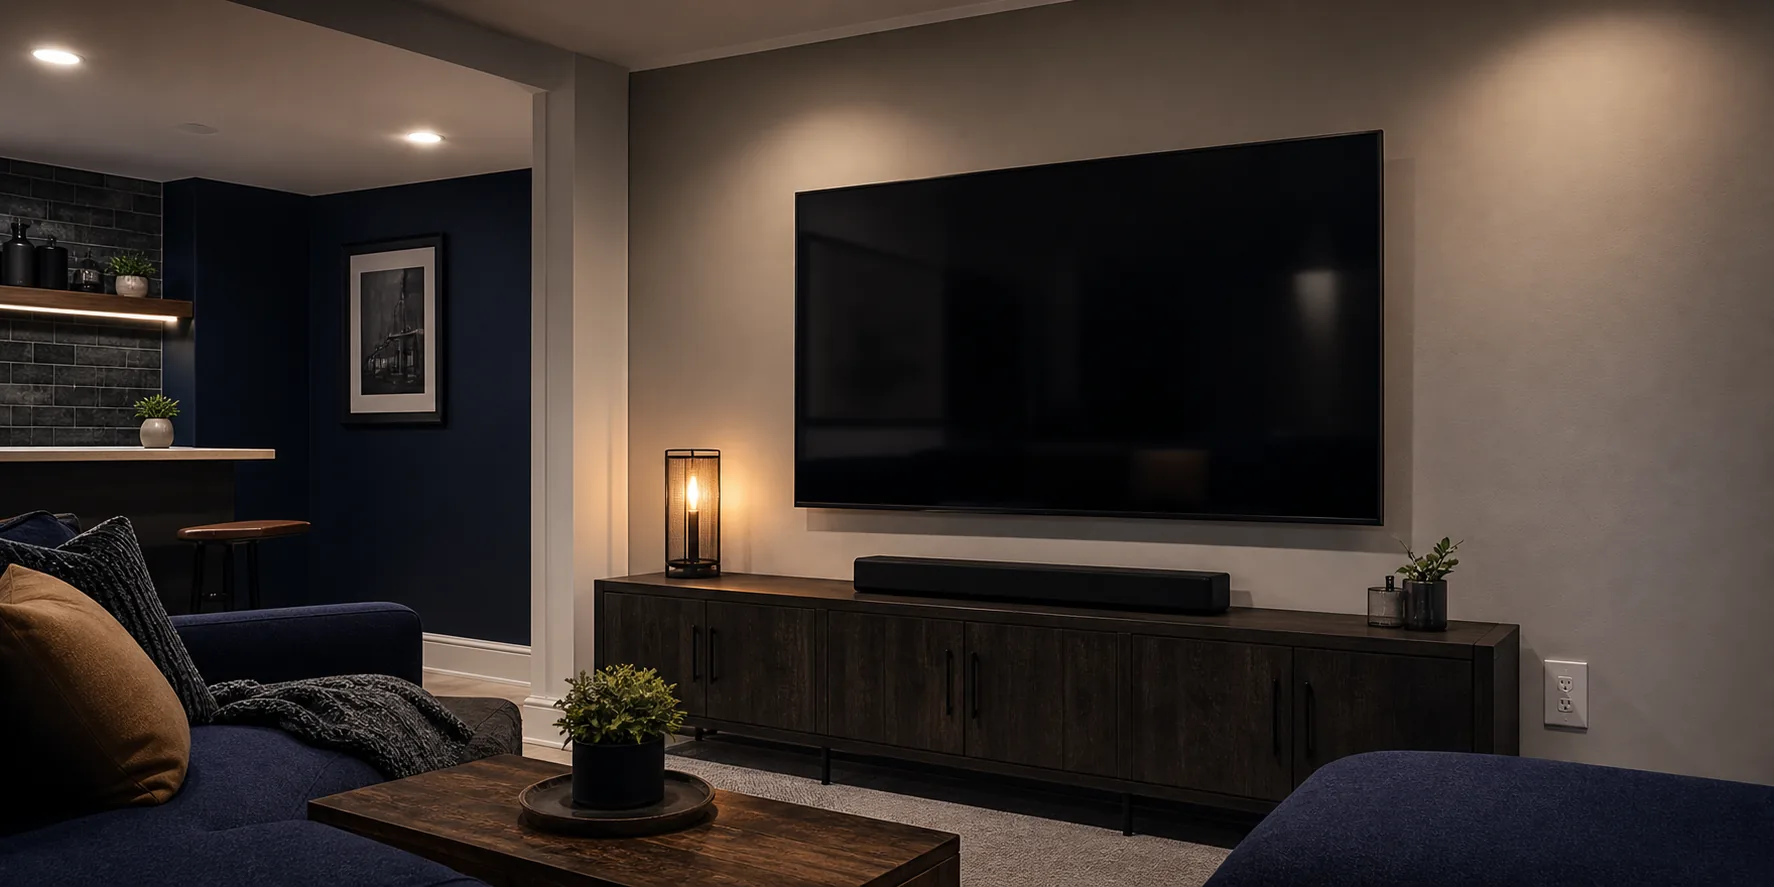 TV MountingNeed tv mounting in Freeport, IL? HammerNest reviews photos, scope, materials, and timing for practical handyman help nearby.View Service ->
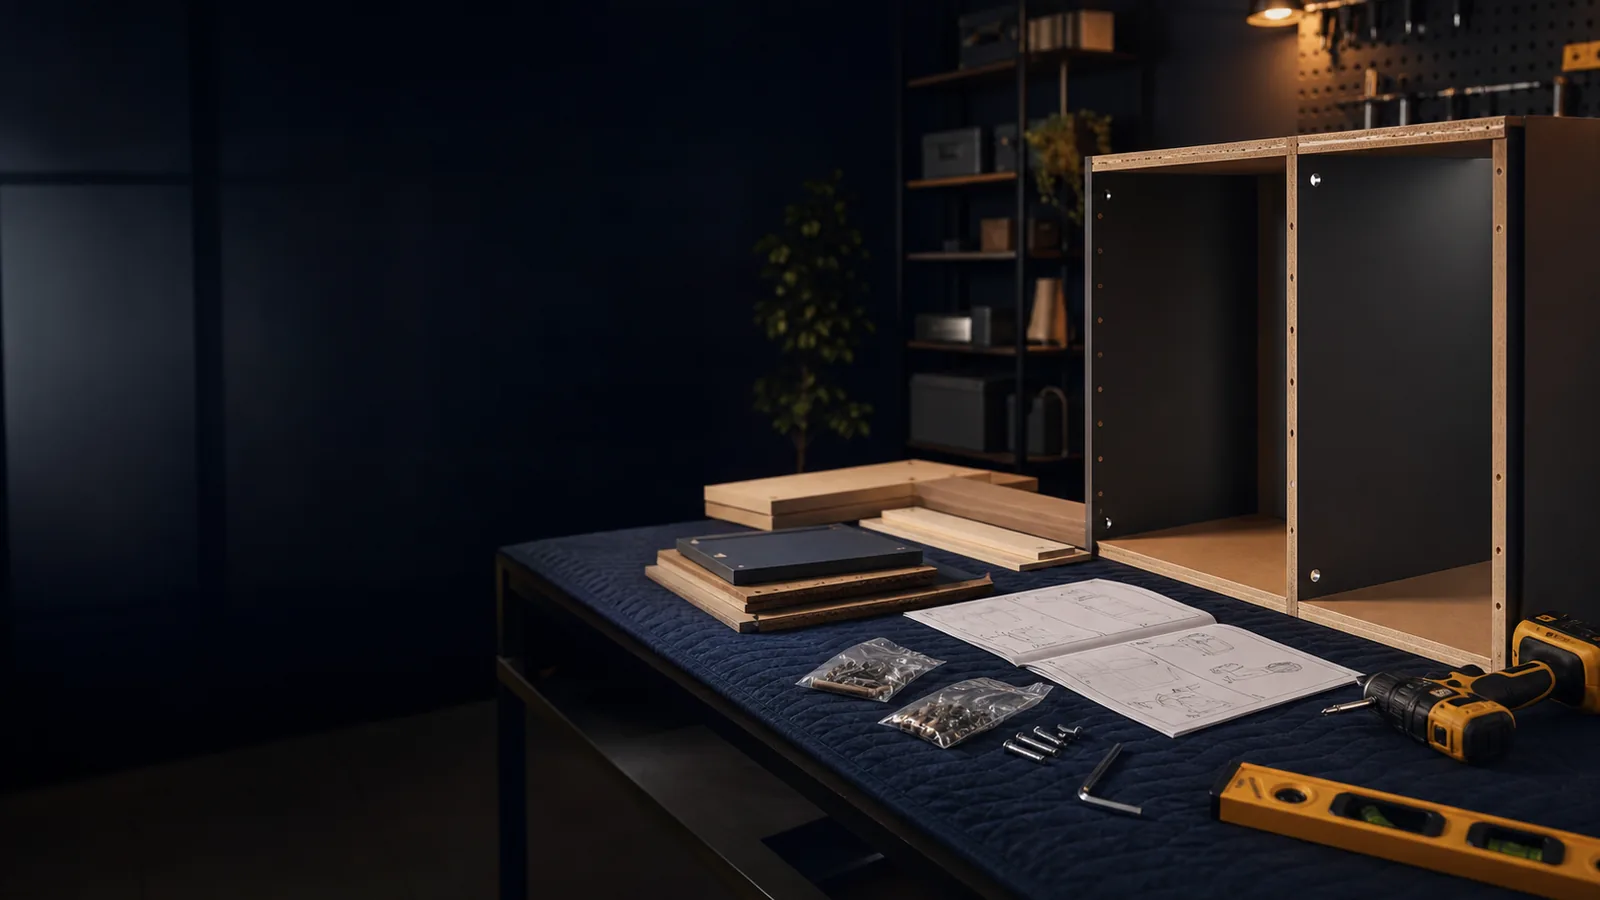 Furniture AssemblyNeed furniture assembly in Freeport, IL? HammerNest reviews photos, scope, materials, and timing for practical handyman help nearby.View Service ->
 Fixture & Hardware Installation in Freeport, ILInstall curtain rods, blinds, bathroom accessories, hooks, organizers, cabinet handles, and small wall fixtures near Freeport, IL.View Service ->
 Picture and Mirror HangingNeed picture and mirror hanging in Freeport, IL? HammerNest reviews photos, scope, materials, and timing for practical handyman help nearby.View Service ->


 Not sure if we cover your area?


