
Trim and Molding Repair
HammerNest provides trim and molding repair help in Freeport, IL for loose baseboards, cracked casing, separated joints, damaged shoe molding, missing quarter-round, and small interior finish-trim problems.
Fast response. Quality work. Fair pricing.
Home repair services
Trim and molding repair for common interior damage in Freeport, IL
HammerNest reviews trim and molding repair problems such as loose baseboards, chipped casing, damaged shoe molding, missing quarter-round, separated chair rail, small crown-molding issues, and other interior finish-trim damage.
Trim damage should be reviewed as part of the full wall and room condition, not just as one loose piece. Profile, material, finish, damaged length, wall condition, and surrounding surfaces all affect what should be checked next.
Loose baseboards
Baseboards pulling away, bowing, or separating from corners should be reviewed with the wall, floor, and connected trim run.
Cracked casing
Door and window casing can crack, shift, or open at miters when the opening, jamb, or wall surface moves.
Shoe molding and quarter-round
Lower trim can split, go missing, or pull loose after flooring work, cleaning wear, moisture, or impact.
Open joints and gaps
Gaps at corners, seams, and wall edges should be checked before they are treated as simple caulk lines.
Complete trim lists
If several rooms, doors, windows, or floor edges are affected, send the full trim repair list in one request.
Send the complete trim repair list when several rooms, openings, or floor edges are affected so the request can be reviewed as one interior repair scope.
Include wide room photos, close-up damage, profile views, measurements, and finish details.
Project intake checklist
What to send with your trim and molding repair request
A few clear photos and basic measurements help show the trim profile, damaged area, surrounding surfaces, finish, and whether the issue affects one short section or several connected pieces.
Full area photo
Take one wide photo showing the entire wall, doorway, window, floor edge, staircase, or room corner where the damage appears.
Damage close-ups
Add close photos of cracks, open joints, dents, swelling, loose fasteners, peeling finish, missing sections, or trim pulling away.
Profile and matching section
Photograph the trim straight on and from the end or side when possible so its shape, height, and projection are visible.
Measurements
Include approximate damaged length, trim height, thickness, room count, and whether replacement pieces are already available.
Finish details
Note whether the trim is painted, stained, natural wood, glossy, matte, caulked, or recently touched up.
Wide photos, close-ups, profile views, paint or stain details, and basic measurements usually explain more than one tight crop.
How it works
How the trim repair request works.
A simple repair flow from trim details to follow-up.
- Send repair detailsShare photos, location, urgency, and the best way to reach you.
- Upload photos if helpfulWide and close-up photos make the first review clearer.
- Choose call or text follow-upTell us how you prefer to handle the next step.
- Get the next stepIf the job fits, timing, materials, and the repair plan are confirmed.


Trim movement check
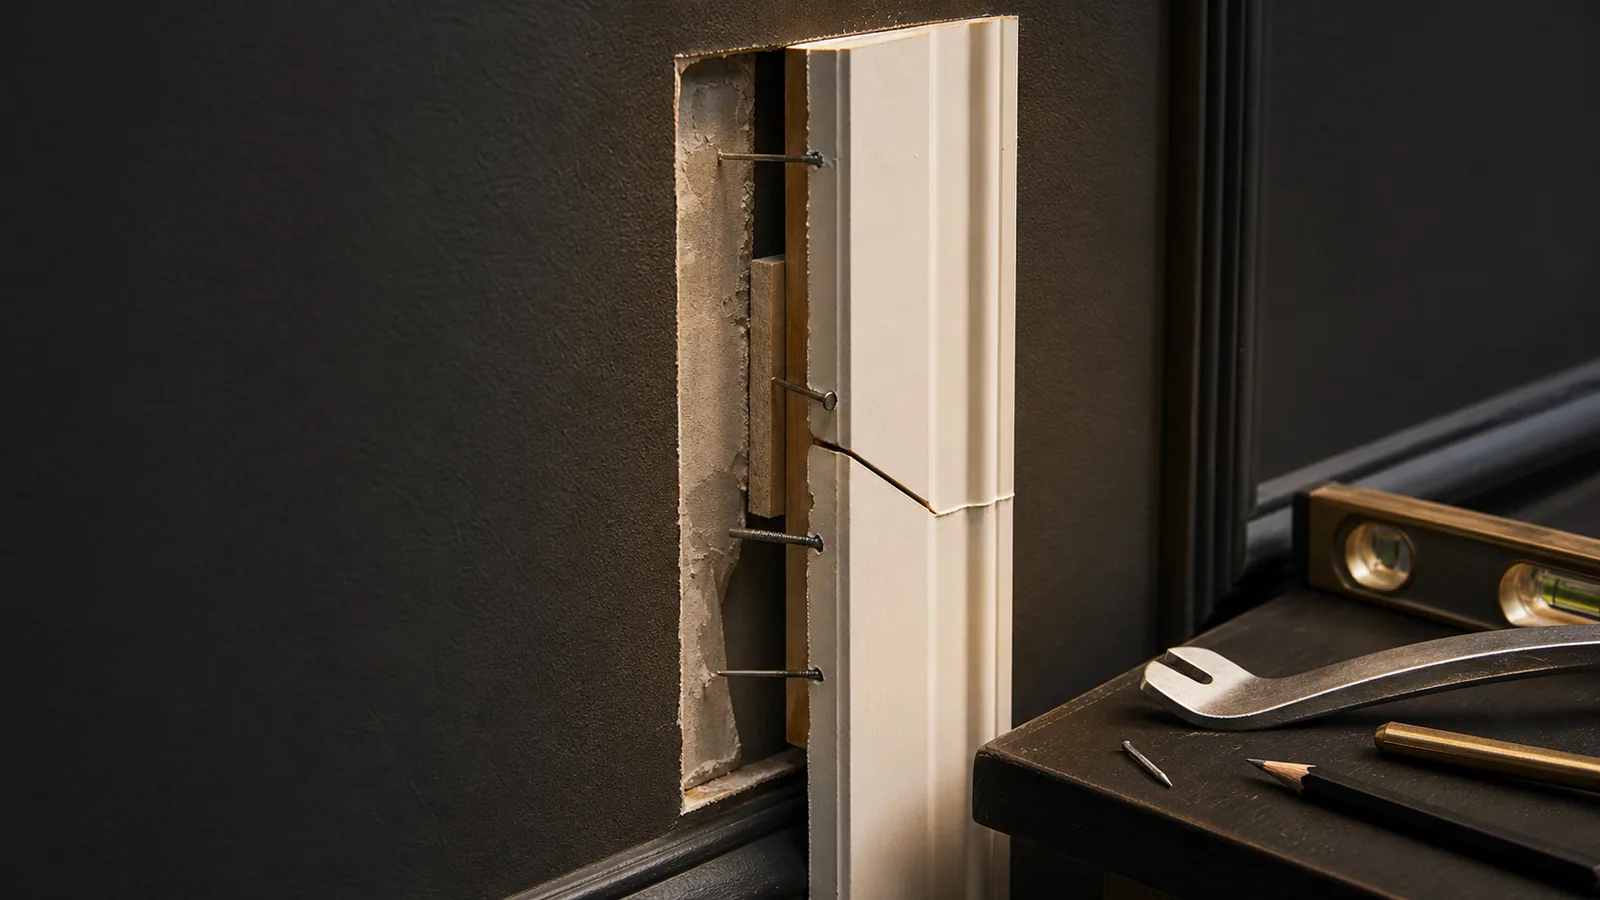
Gaps and loose trim usually start behind the finished surface
A visible gap does not always mean the trim only needs more caulk. Loose fasteners, uneven walls, seasonal movement, moisture, or damage behind the molding can allow joints to open.
The pattern matters. One small corner gap may be localized, while repeated separation around several openings can point to movement in the surrounding surface.
Wall movement
Seasonal humidity changes, settling, uneven framing, and out-of-square openings can shift how trim meets the wall or adjoining pieces.
Fasteners and adhesive
Trim can loosen when nails miss solid backing, fastener holes no longer hold, or old adhesive separates from the wall surface.
Moisture and swelling
Moisture near floors, baths, kitchens, or exterior doors can swell trim, soften material, and open joints.
Impact and wear
Furniture, vacuums, pets, moving damage, and repeated door movement can dent or loosen finished trim.
Caulk and paint gaps
Old caulk or paint lines can crack when the trim moves or when the surface below it changes.
The cause should be checked before filling gaps so the same separation does not come back immediately.

Profile and finish matching
The trim profile, material, and finish need to be reviewed together
Matching replacement trim involves more than finding a board with a similar width. Height, thickness, edge shape, grooves, and projection all affect visibility.
Painted MDF, solid wood, finger-jointed pine, PVC, and stained trim can respond differently to cutting, fastening, filling, moisture, and touch-up work.
Trim profile
Baseboards, casing, chair rail, crown molding, shoe molding, and quarter-round vary in edge shape, grooves, curves, and projection.
Material
Solid wood, MDF, finger-jointed wood, PVC, and older trim products can respond differently to cutting, fastening, filling, and moisture.
Finish
Paint, stain, sheen, caulk, and previous touch-up work can affect how visible a repair becomes.
Age and weathering
Older trim may have layers of paint, changed color, or discontinued profiles that are harder to match exactly.
Matching limits
A close practical match may be possible even when an invisible match is not realistic for the existing material and finish.
A close practical match may be possible even when a truly invisible match is not realistic for older trim, discontinued profiles, or aged finishes.
Floor-line condition check
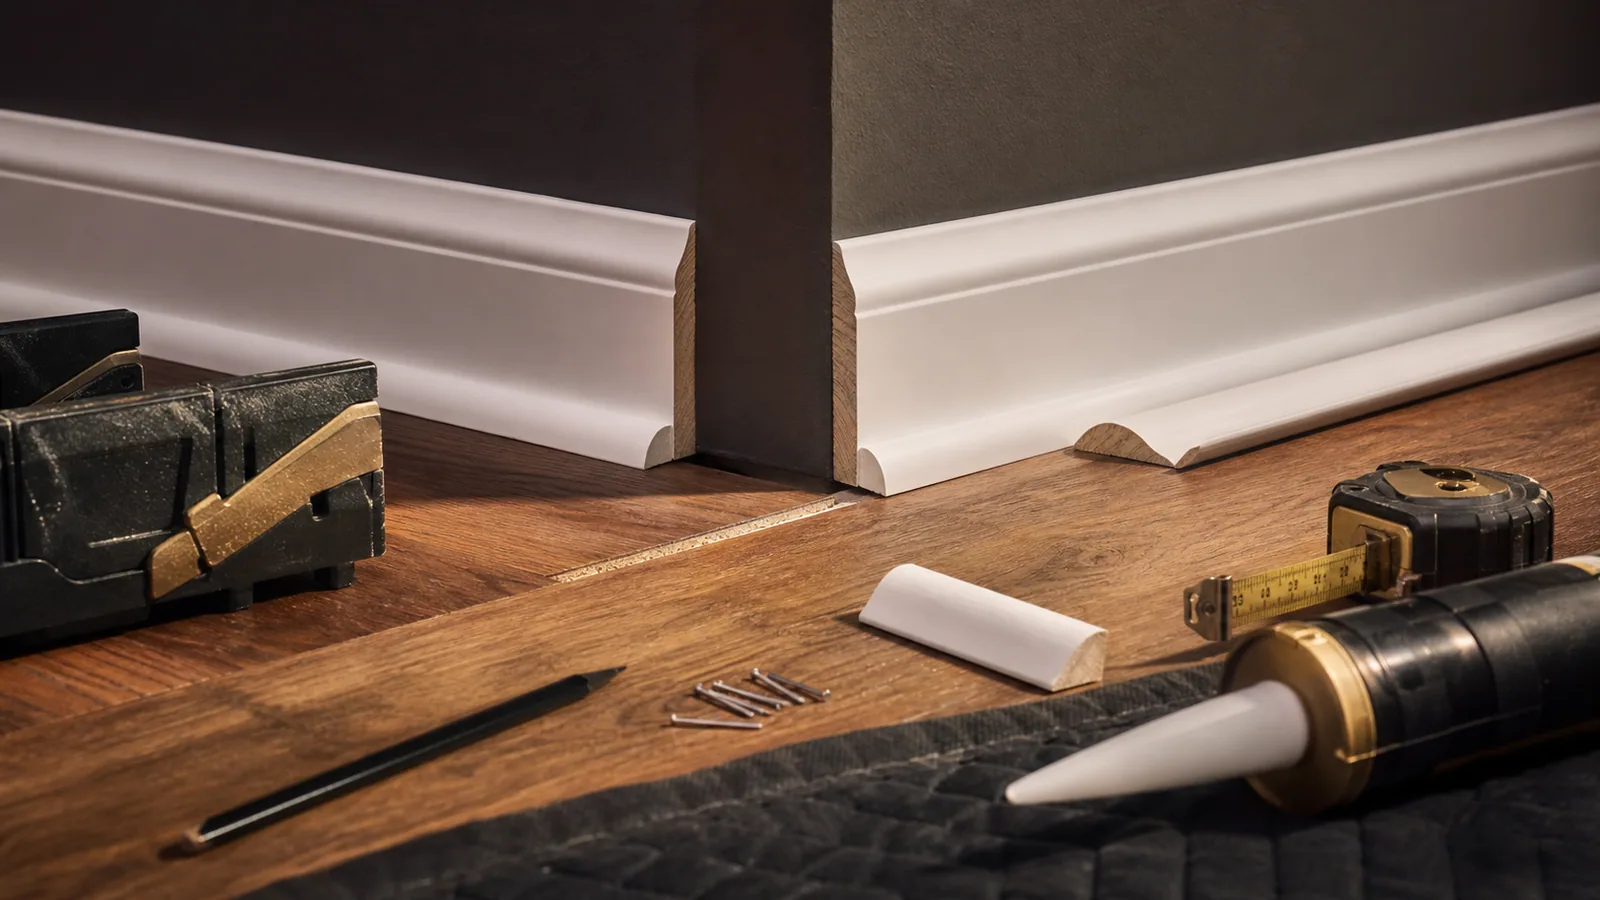
Baseboard repairs should account for the wall and floor below them
Baseboards and lower trim can loosen, split, swell, or separate when the wall, flooring, or adjoining pieces move.
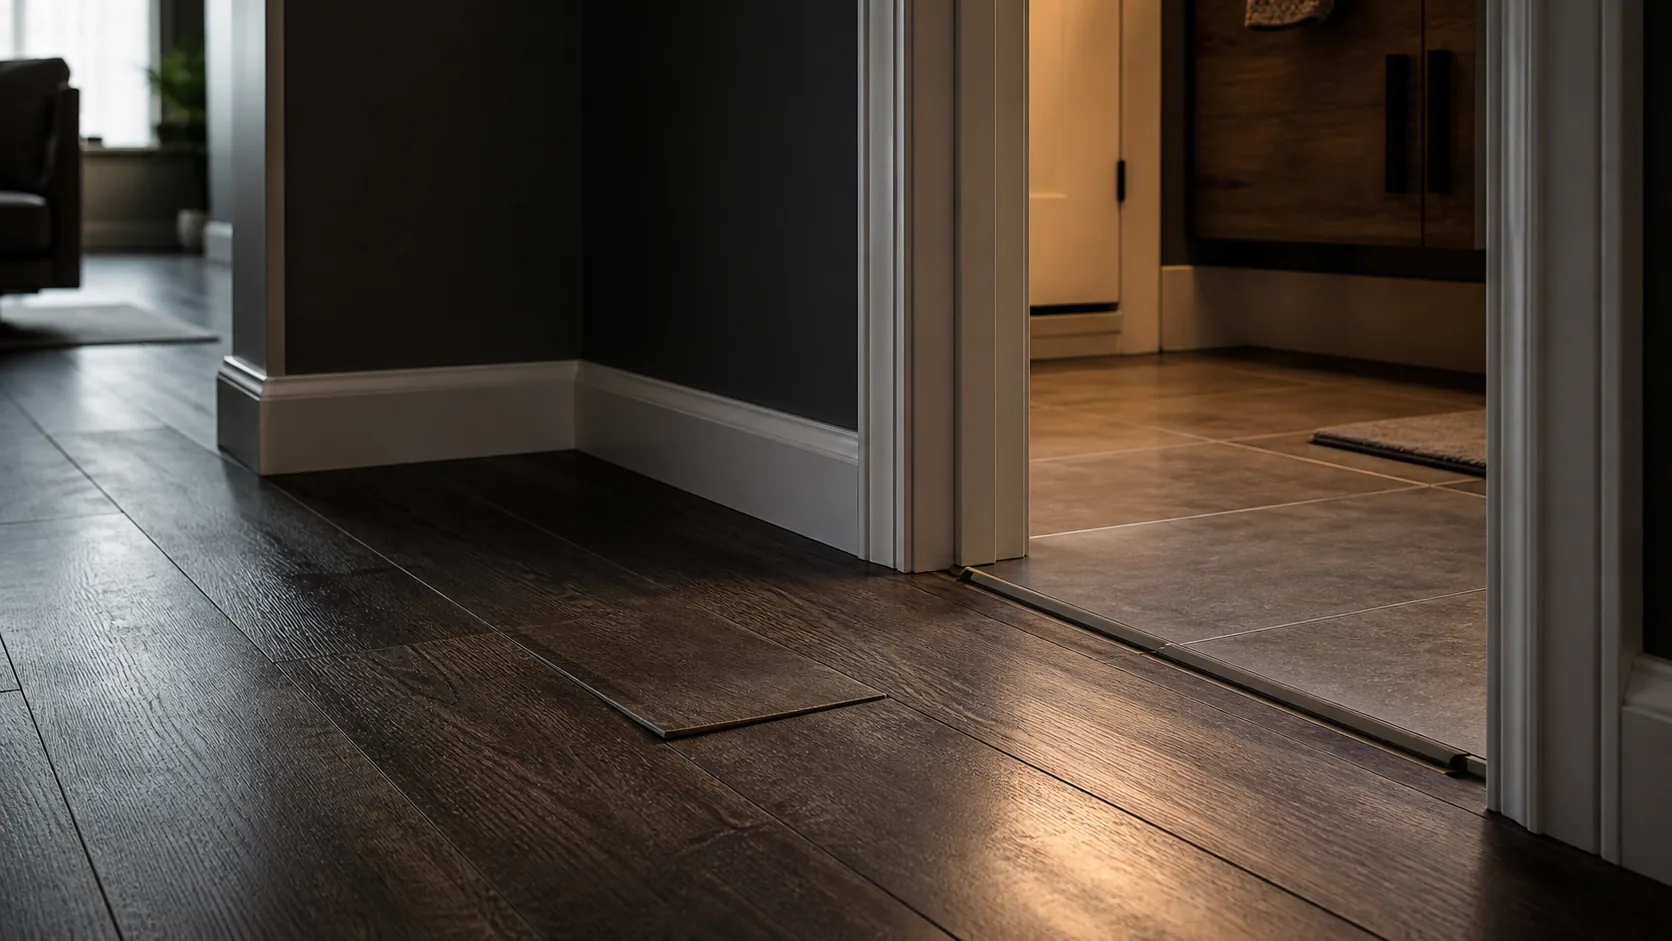
Flooring changes can expose old paint lines, unfinished wall areas, uneven gaps, or mismatched trim heights that need to be planned as one continuous section.
Baseboards
Loose, dented, cracked, or bowed baseboards may involve failed fasteners, wall irregularities, or wider damage.
Shoe molding
Shoe molding can pull away, split at corners, or go missing after flooring work or repeated cleaning wear.
Quarter-round
Quarter-round can hide small floor-line gaps, but the profile, miter, and finish still need to fit the surrounding trim.
Floor gaps and transitions
Flooring changes may expose old paint lines, unfinished wall areas, uneven gaps, or mismatched trim heights.
Moisture and cleaning wear
Lower trim near baths, kitchens, doors, and pet areas may show swelling, staining, or finish deterioration.
Floor movement, moisture, and finish expectations should be considered before assuming one short piece can be patched invisibly.
Opening and casing check
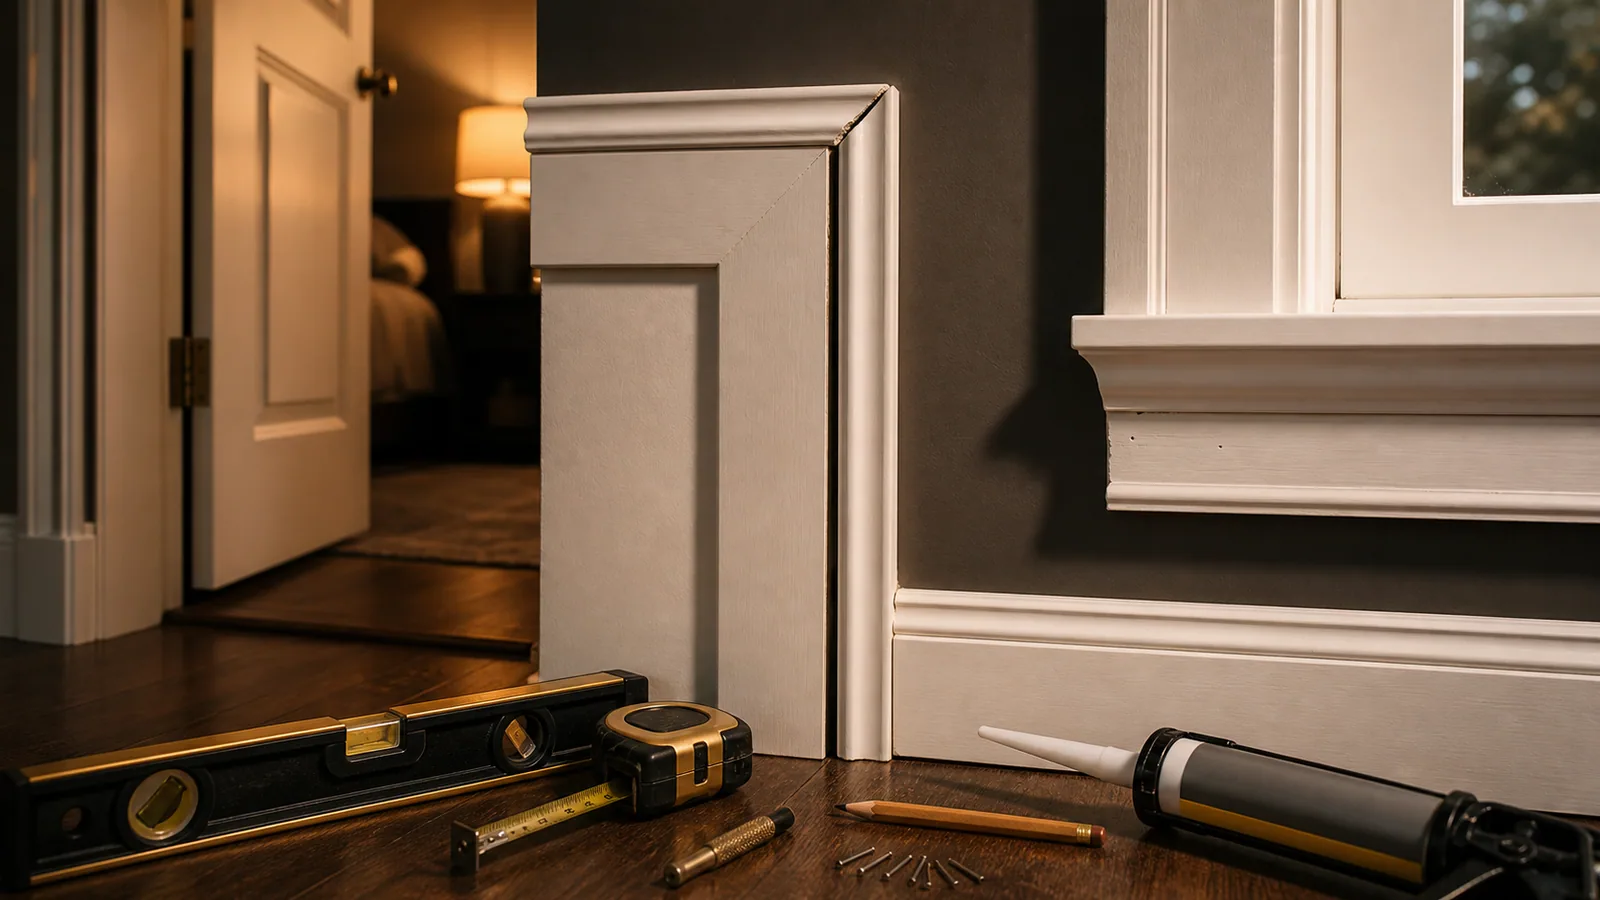
Door and window casing problems may start at the opening
Loose casing, open joints, and trim pulling away from the wall may be symptoms of movement around the doorway or window.
Door operation, moisture, uneven plaster, thick paint buildup, and previous repairs can all affect how casing sits.
Door casing
Loose side casing, cracked header joints, or gaps near the floor may relate to door movement, fastening points, or an uneven opening.
Window casing
Separated joints, swelling, or staining around windows can involve moisture, wall condition, or old repairs.
Corners and miters
Open miters may need the joint, wall angle, and connected trim pieces reviewed together.
Jamb and wall movement
A shifting jamb or uneven wall can keep stressing casing even after a loose piece is reattached.
Paint and caulk lines
Thick paint buildup, cracked caulk, or visible old lines can affect how the repair is finished.
A rubbing door, shifting jamb, or moving wall can continue stressing casing even after a loose section is reattached.
Show the casing, jamb, reveal, nearby wall, and whether the door or window operates normally.
Estimate factors
What affects a trim and molding repair estimate
The repair scope depends on more than the visible damage. Trim dimensions, profile availability, material condition, joint complexity, access, and finish expectations all help determine what the project may require.
Scope
The number, length, height, thickness, and style of affected pieces influences removal, fitting, fastening, and preparation.
Profile
Standard trim may be easier to identify than older, decorative, or discontinued profiles.
Material
Splits, swelling, rot, stripped fastener points, and damaged wall or floor surfaces can make the repair more involved.
Joints
Mitered corners, returns, casing intersections, and connected trim runs can require more careful fitting than straight sections.
Access
Stairways, tight corners, cabinets, vanities, furniture, and floor transitions can affect how the trim is reached.
Finish
Functional repair, paint touch-up, stain matching, caulk lines, and cosmetic blending are not always the same scope.
Before sending the request, gather photos, measurements, profile views, finish details, affected-room count, and whether a functional repair or cosmetic blending is the goal.
Clear details make the repair easier to review without guessing from one close-up.
Project boundaries
When trim repair may need a different plan
Some trim problems point beyond a localized handyman repair, especially when custom millwork, active moisture, structural movement, or full refinishing is involved.
Submitting one complete list helps HammerNest understand the room, but materials, finish expectations, access, moisture, and specialist needs still matter before work is grouped together.
May need a different specialist or plan
Custom millwork fabrication
Made-to-match profiles, custom decorative trim, and new architectural details may need a millwork or finish-carpentry specialist.
Large finish-carpentry projects
Whole-room trim replacement, crown molding installation, or major built-ins may be a larger carpentry project.
Active moisture or rot
Leaks, mold, rot, or active moisture should be corrected before trim is repaired or replaced.
Structural movement
Major wall movement, foundation concerns, or shifting openings should be evaluated before cosmetic trim repair.
Flooring installation issues
Large flooring transitions, floor leveling, or new flooring installation may need flooring-specific work first.
Full refinishing
Large paint, stain, or finish-matching projects may require a painter or refinisher.
If drywall, flooring, door, cabinet, or fixture issues are connected to the trim damage, mention them once so the request context is clear.
Service hub
Related interior repair help.
These pages may fit nearby finish, wall, floor, cabinet, or door repairs.
 Flooring RepairNeed flooring repair in Freeport, IL? HammerNest reviews photos, scope, materials, and timing for practical handyman help nearby.View Service ->
 Door RepairNeed door repair in Freeport, IL? HammerNest reviews photos, scope, materials, and timing for practical handyman help nearby.View Service ->
 Cabinet RepairNeed cabinet repair in Freeport, IL? HammerNest reviews photos, scope, materials, and timing for practical handyman help nearby.View Service ->
 Fix a Hole in DrywallNeed a drywall hole repaired near Freeport? Send wide and close-up photos so HammerNest can review patch size, texture, and next steps.View Service ->


 Not sure if we cover your area?


